You can generate new photoshoots or refresh your existing catalogue with ease using Ayna Studio. Ayna allows you to upload garments, change backgrounds, apply themes and templates, and create multiple pose and styling variations in just a few clicks. You can watch a quick walkthrough here on - YouTube Or explore the step-by-step process below to see how Ayna simplifies virtual photoshoots.

Step 1: Choose Your Product & Photoshoot Specifications

Click on “Start a Photoshoot” on the home page to begin creating your virtual photoshoot. Select the garment category and gender. Ayna also lets you generate marketplace-ready images for platforms like Myntra, Nykaa Fashion, Amazon, and even custom ratios, eliminating the need for manual resizing or cropping. Start a Photoshoot Garment and options Upload images of your products, or choose from Ayna’s in-built sample products to explore the platform and try different garment options like — fit type → slim, regular, relaxed, or oversized, tucked-in or tucked-out styles. After uploading your garment images, you can either select a template or proceed manually. Upload and options

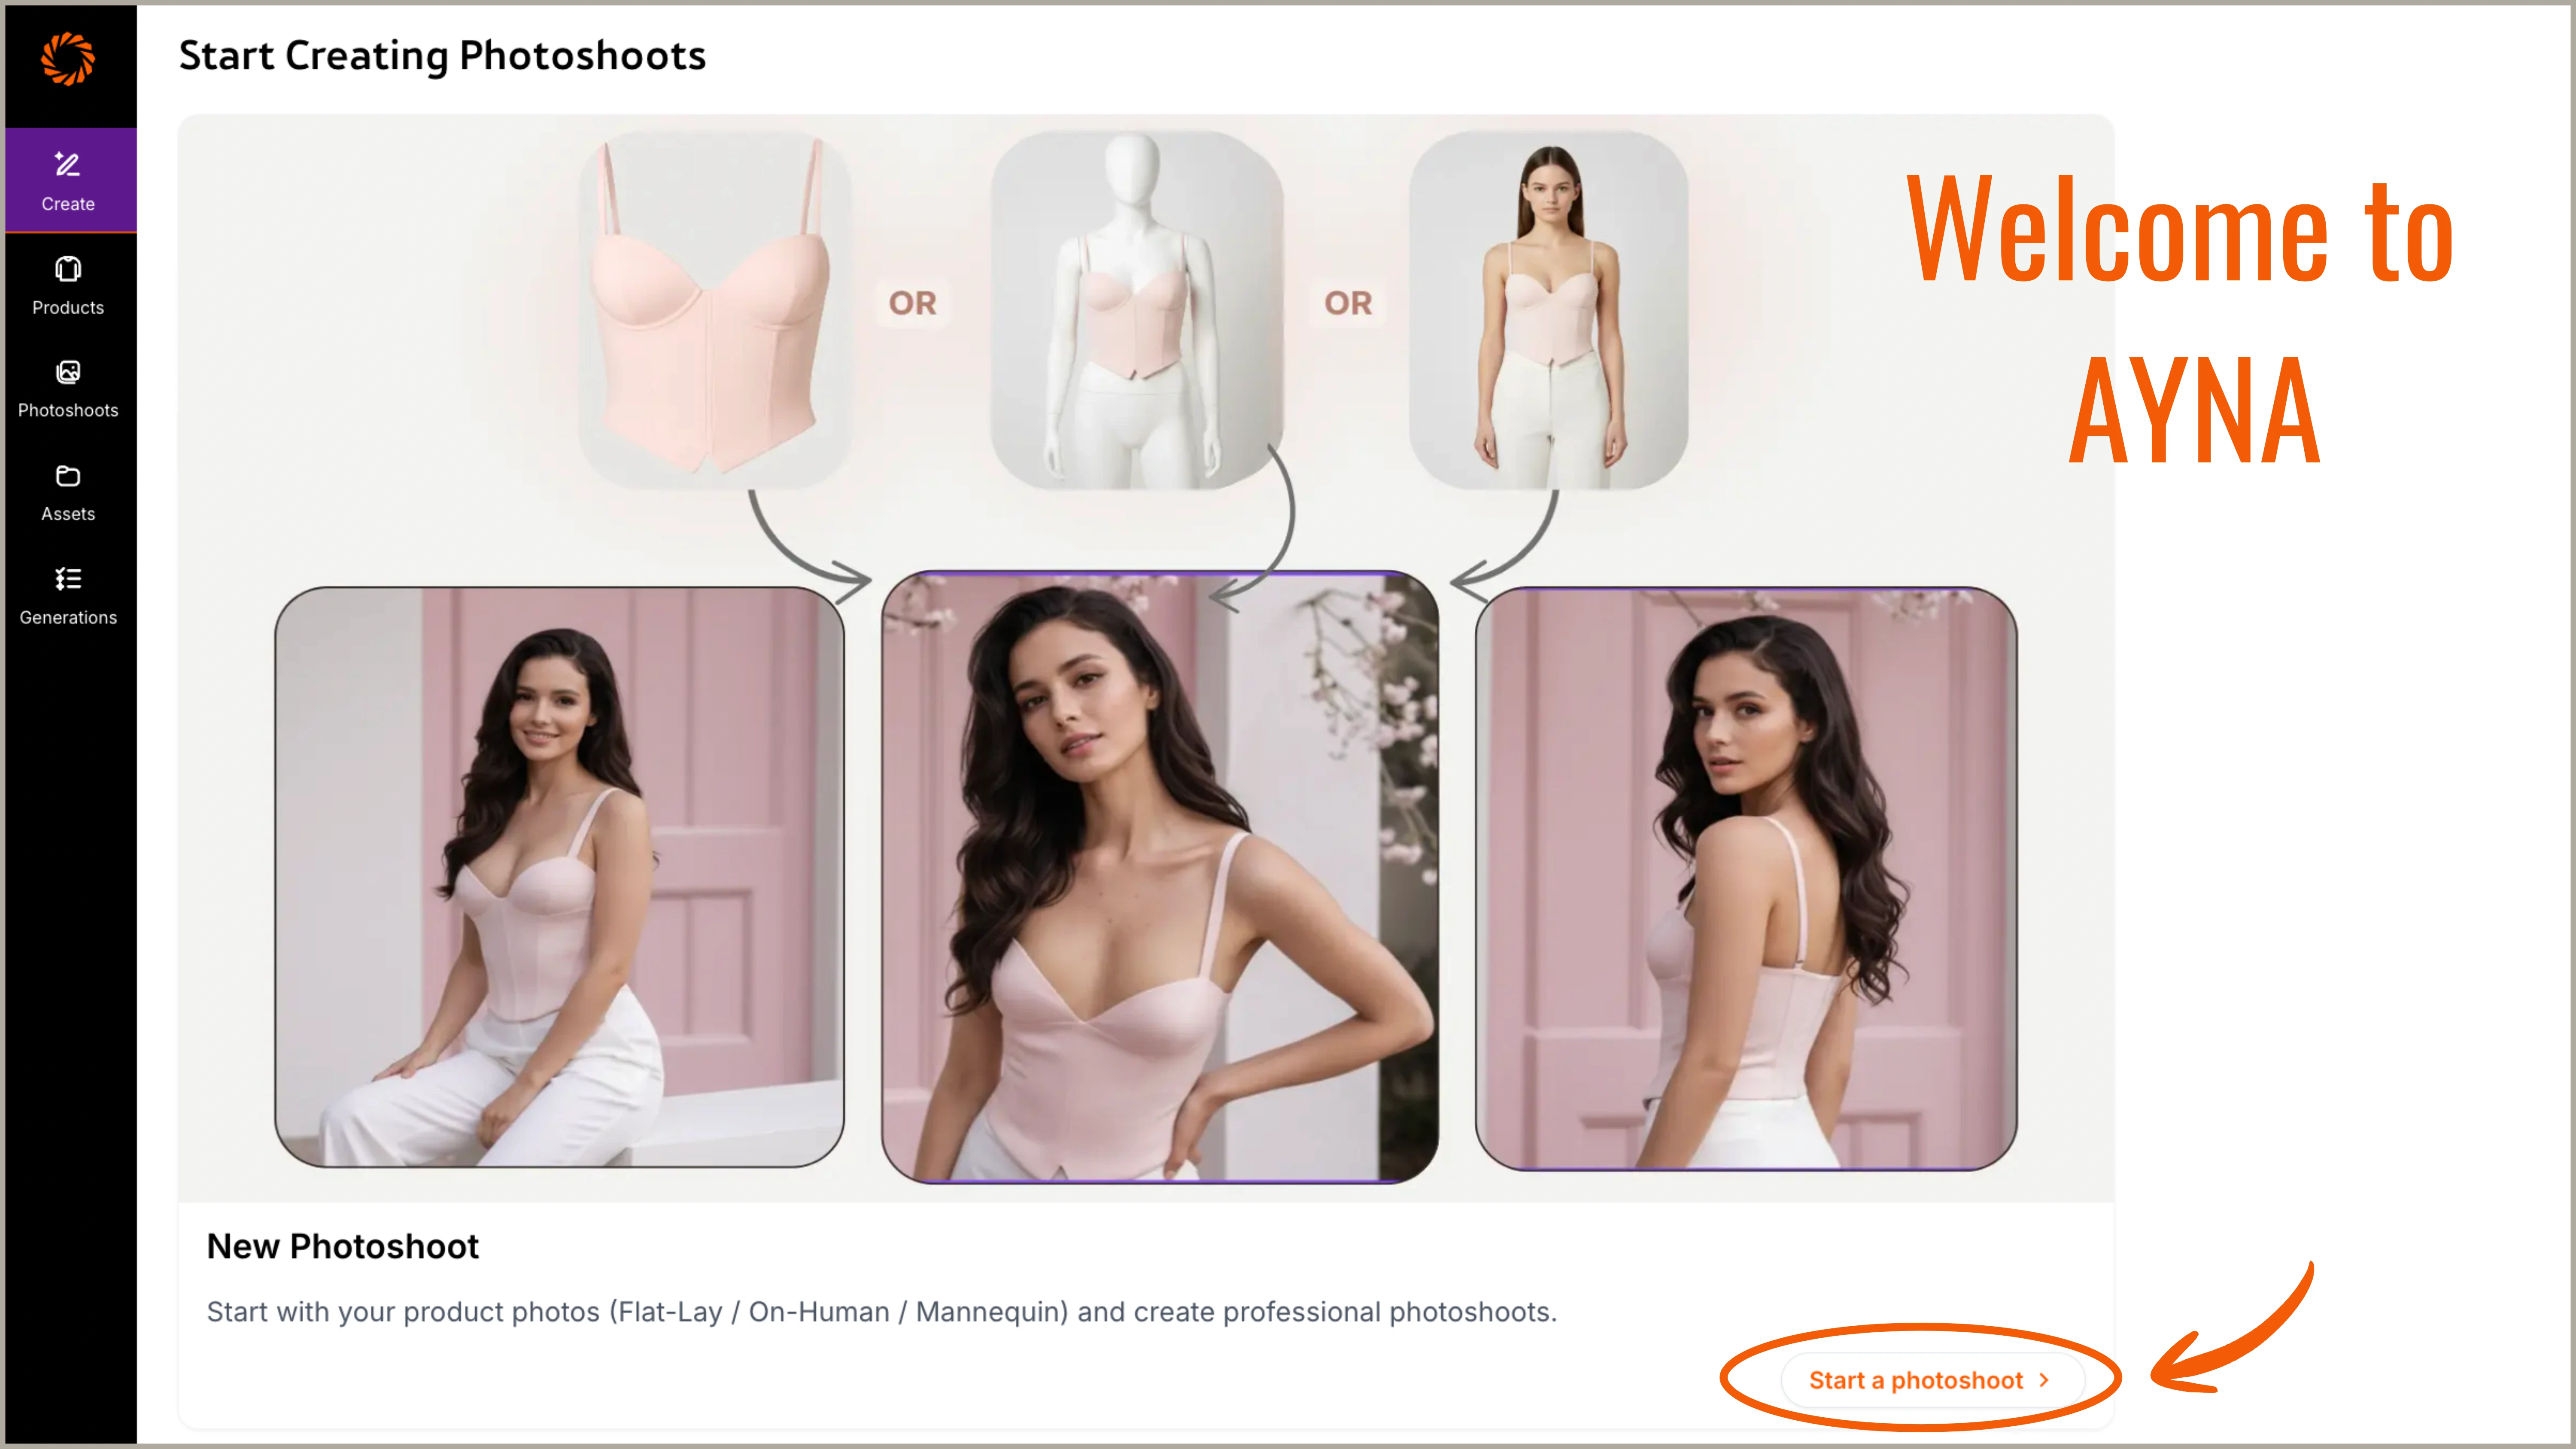
Step 2: Choose your Photoshoot Design

After your input is processed successfully, you need to choose your photoshoot design, including poses, models, backgrounds, etc. There are 2 ways to proceed:

Method (a): Proceed with Templates

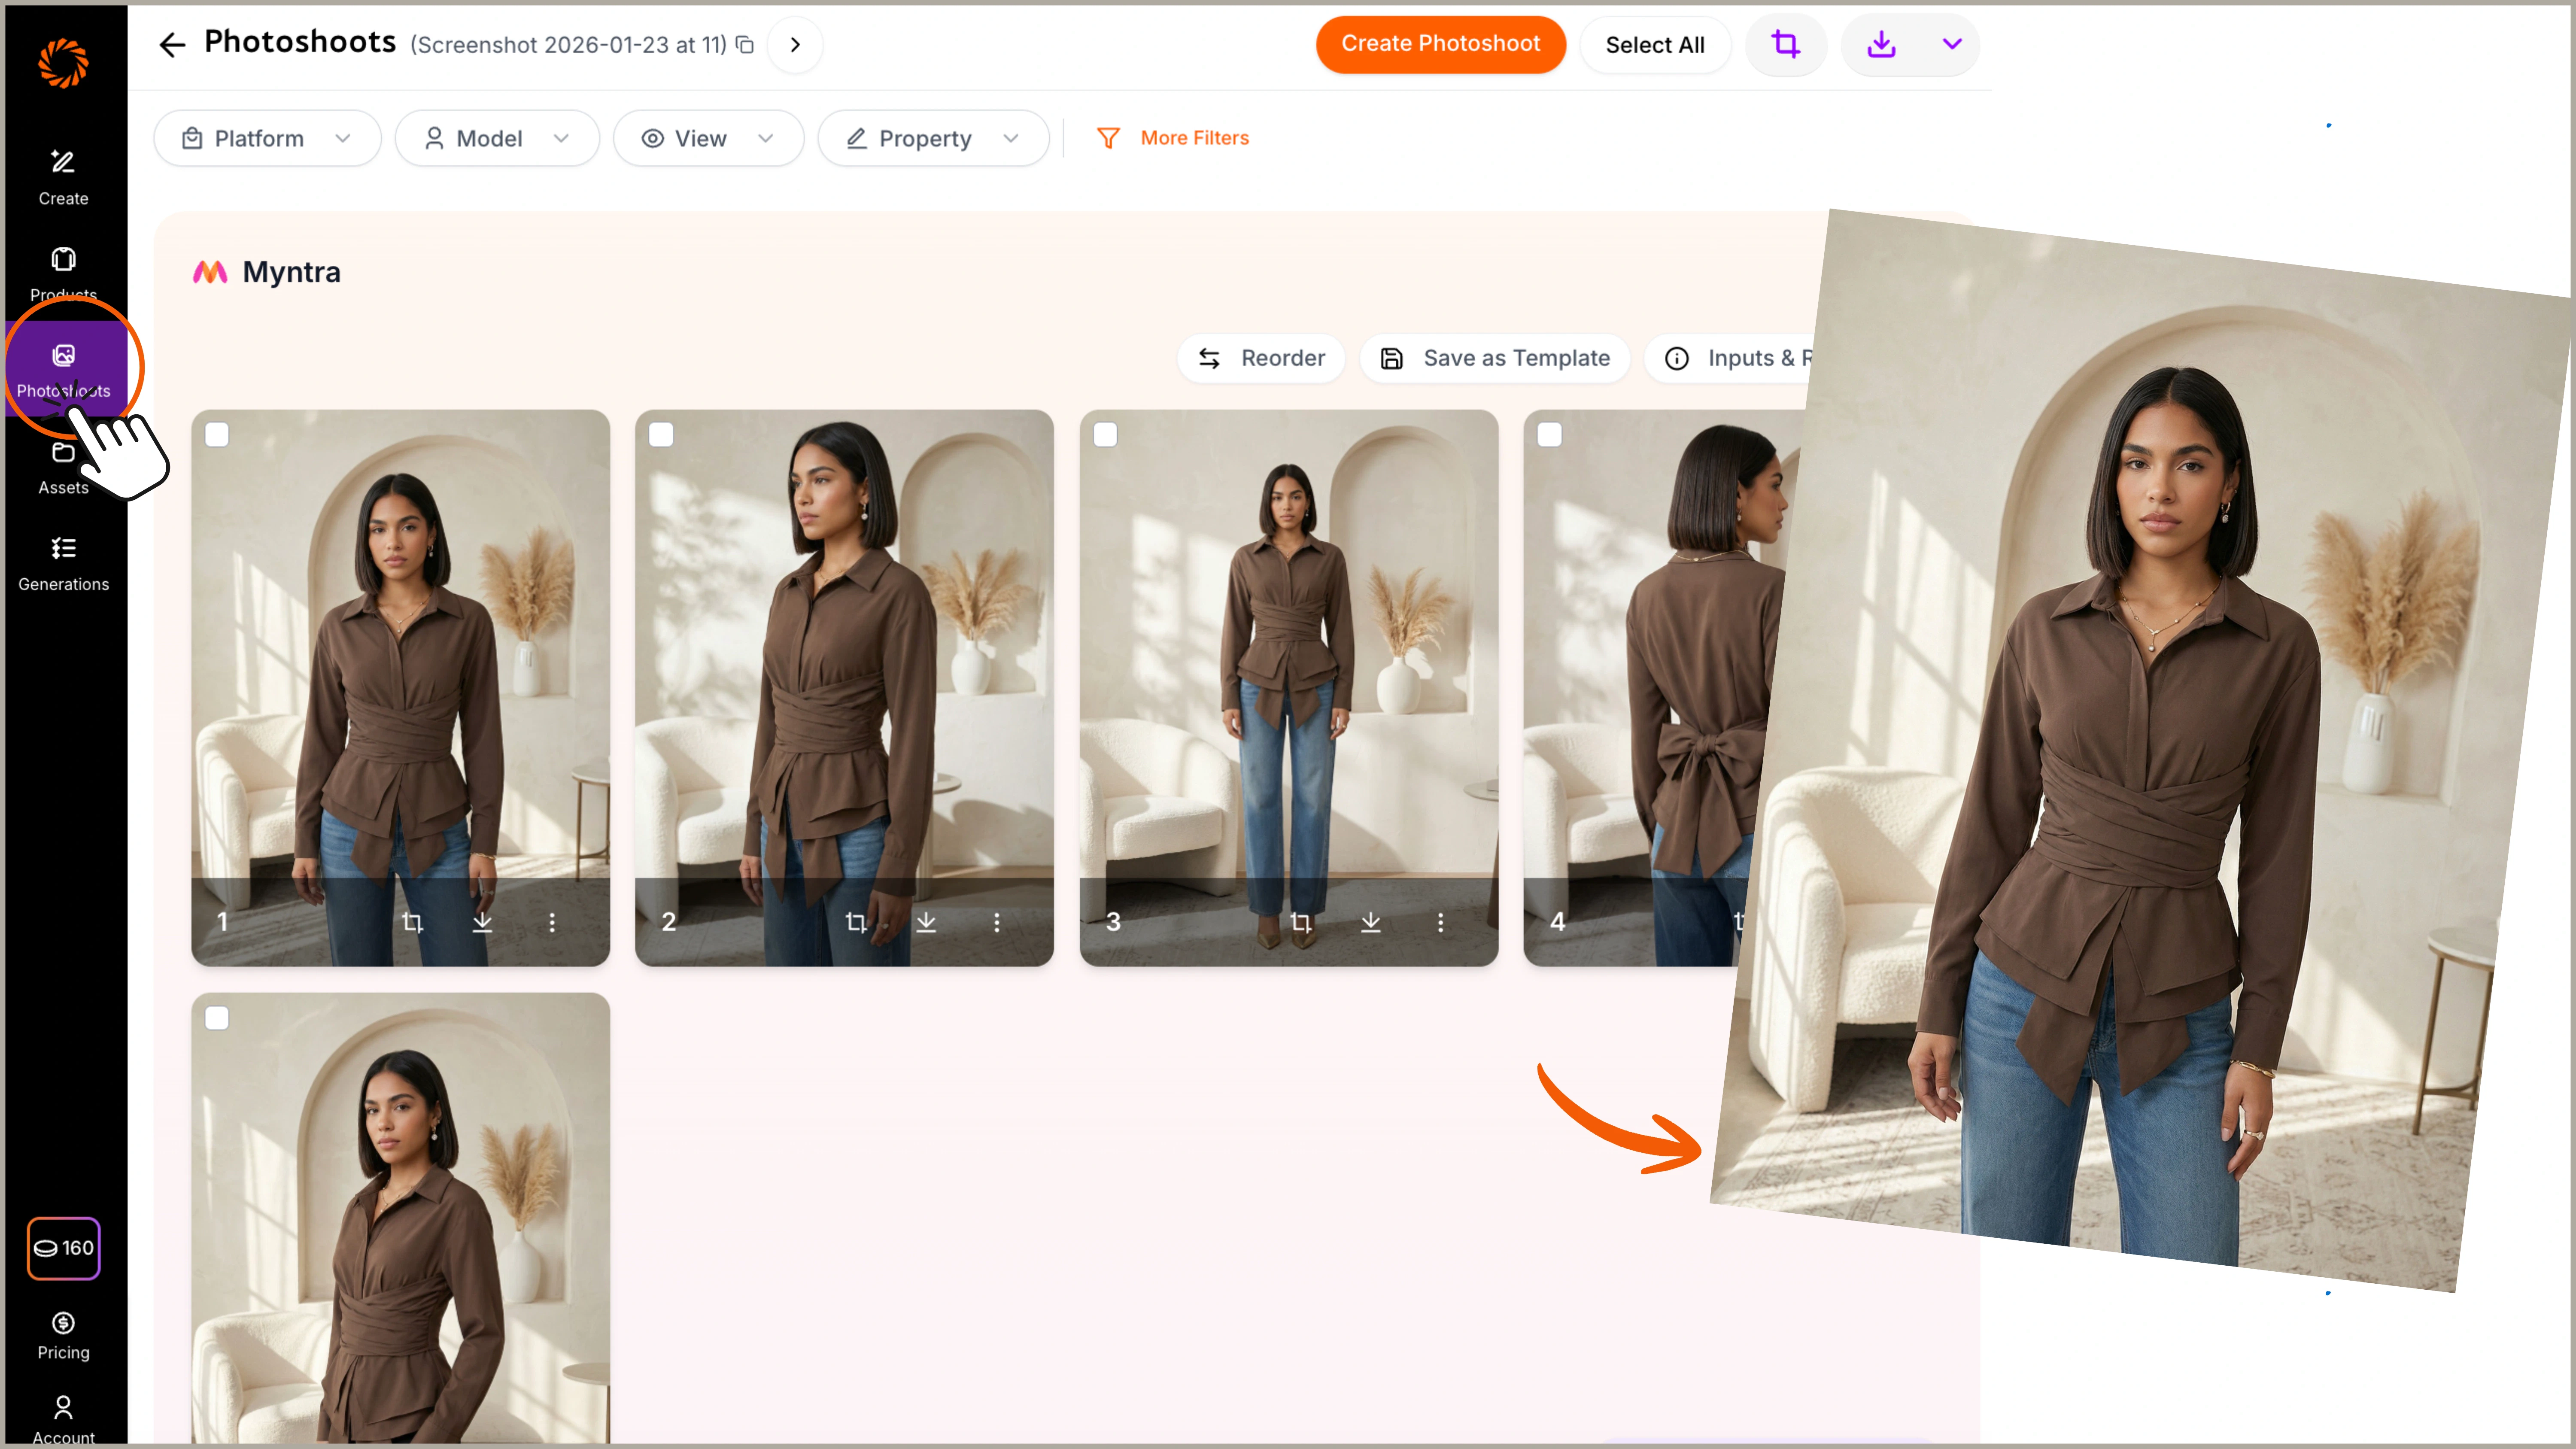
Templates offer pre-saved inputs with predefined models, backdrops, and poses, which you can review before generating any images. You can choose a template of your choice, either from our pre-built library of 150+, or your own custom templates, and proceed to the Review Page. On the review page, you can view all pre-saved inputs, including model poses, styles, and accessories. You can customise any of these options, and once satisfied, click Generate to create your images. Templates review

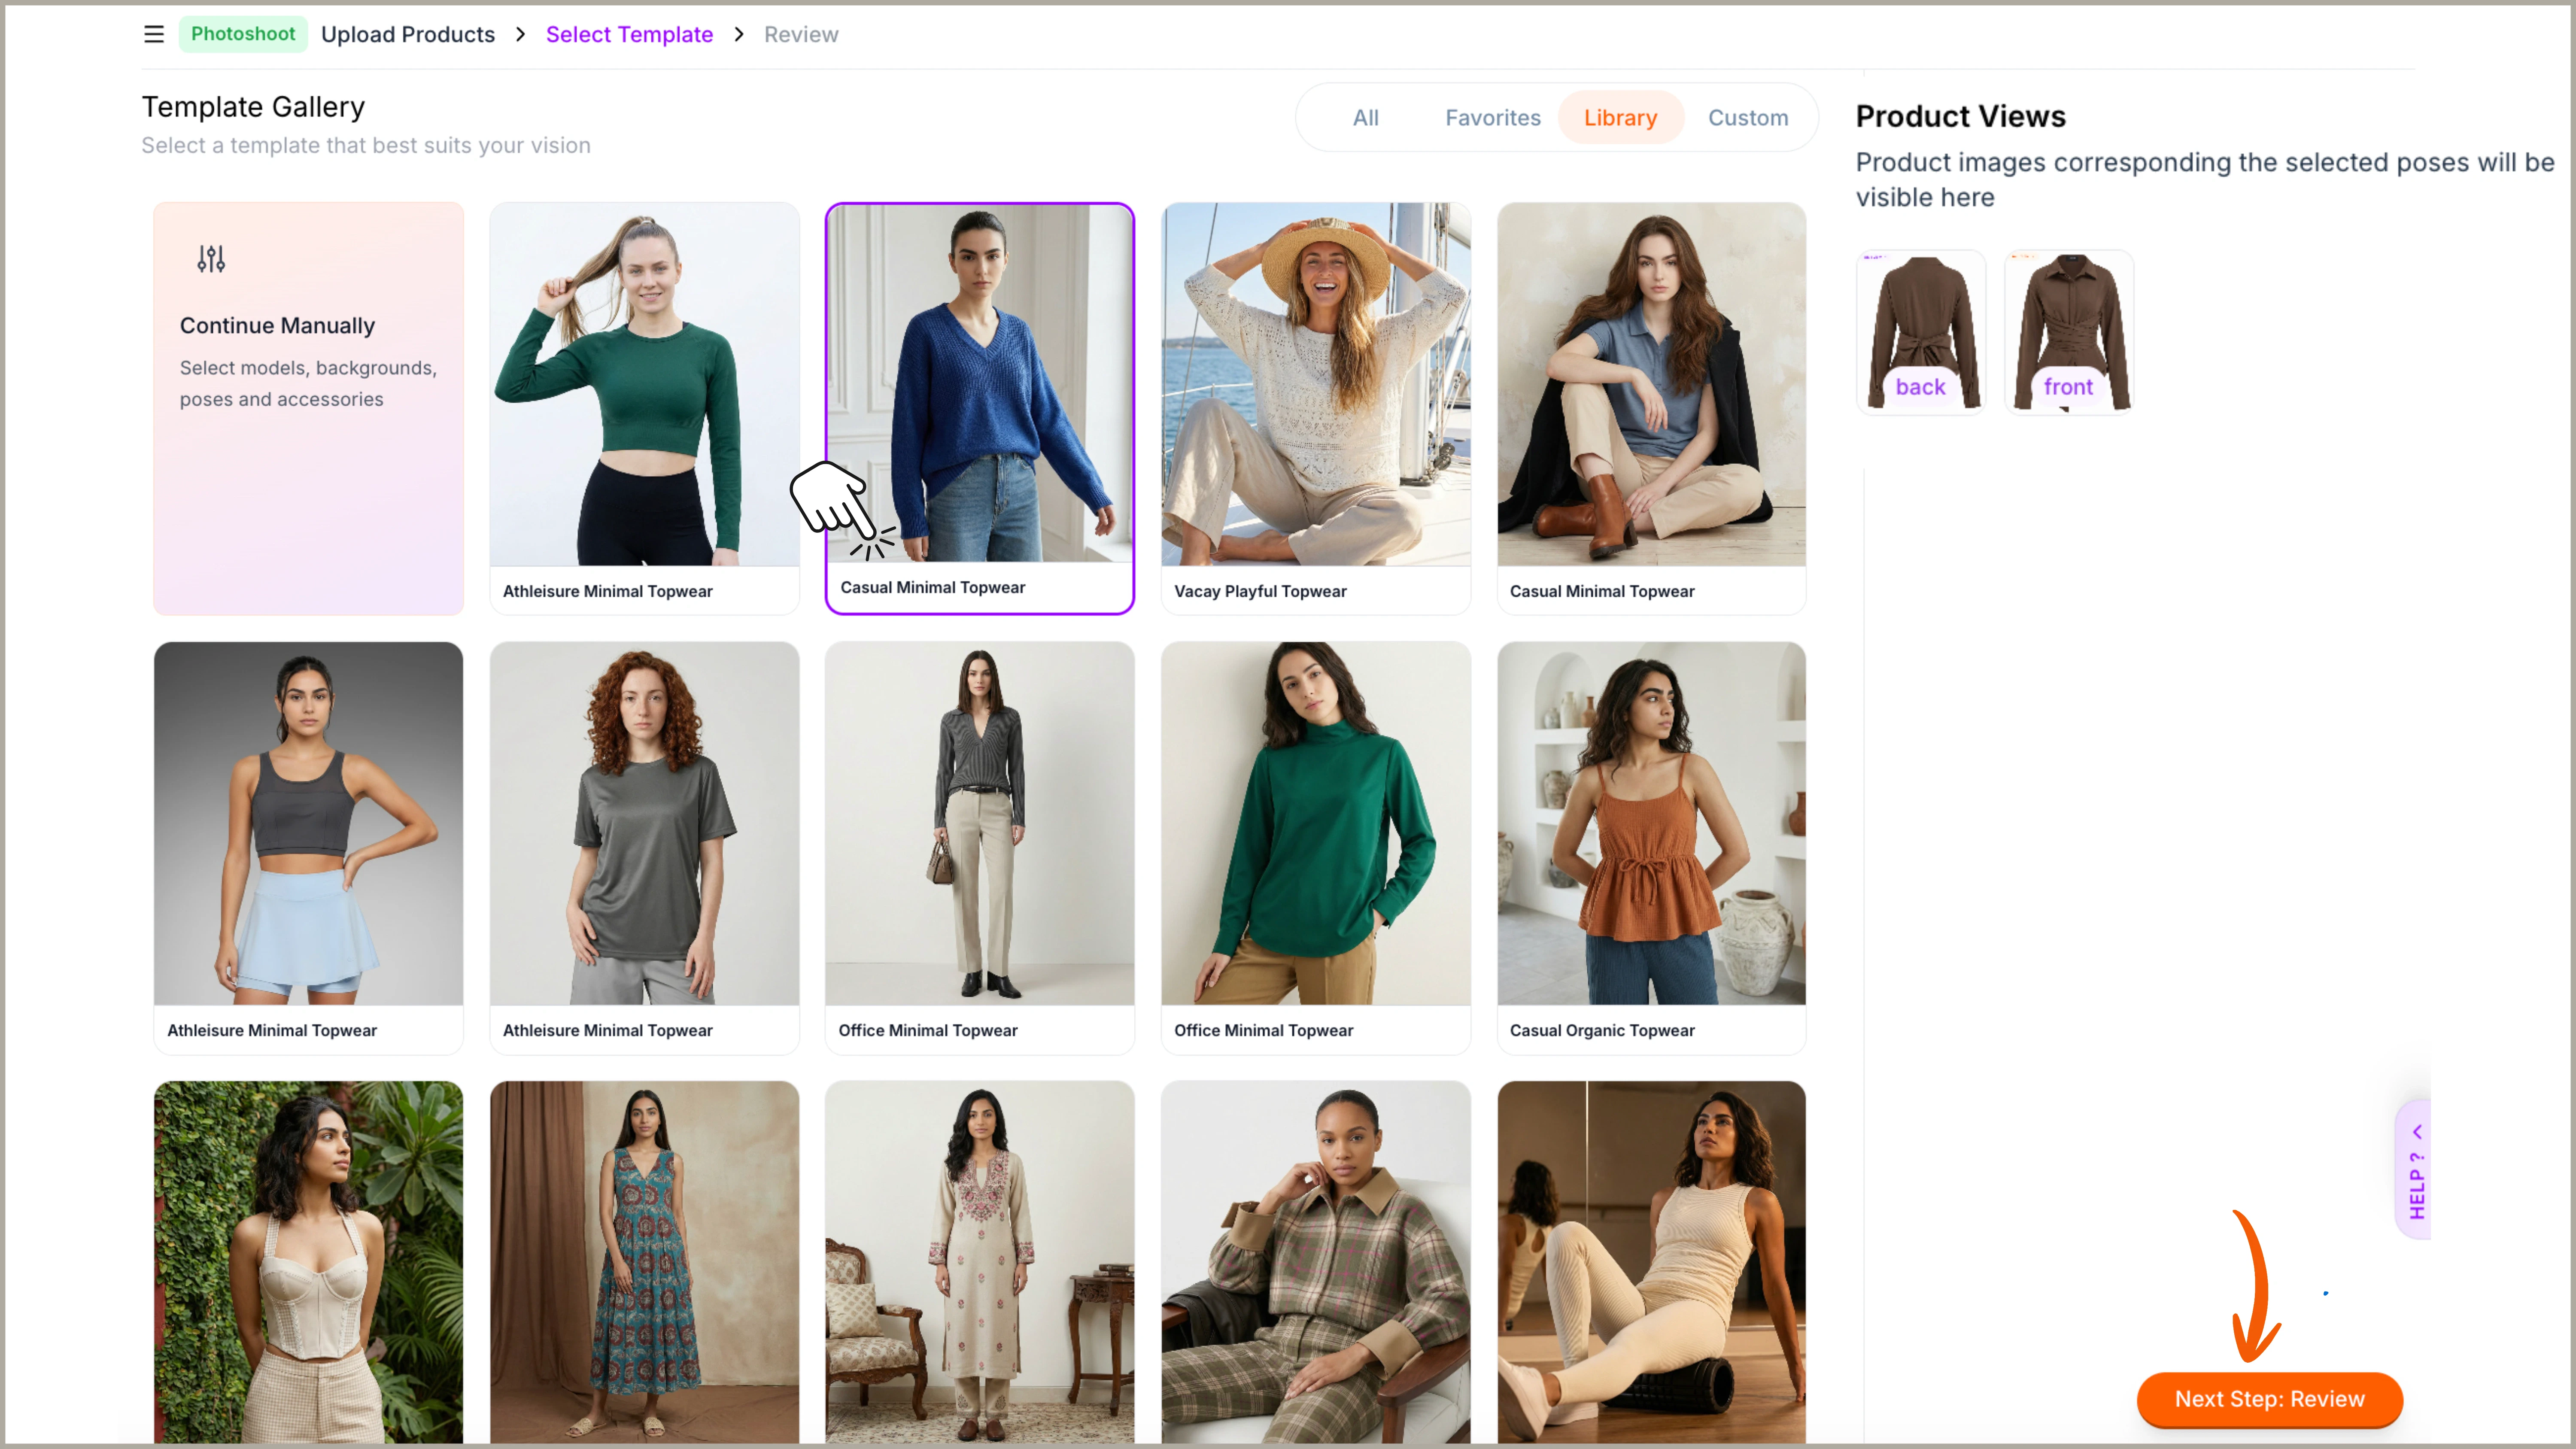
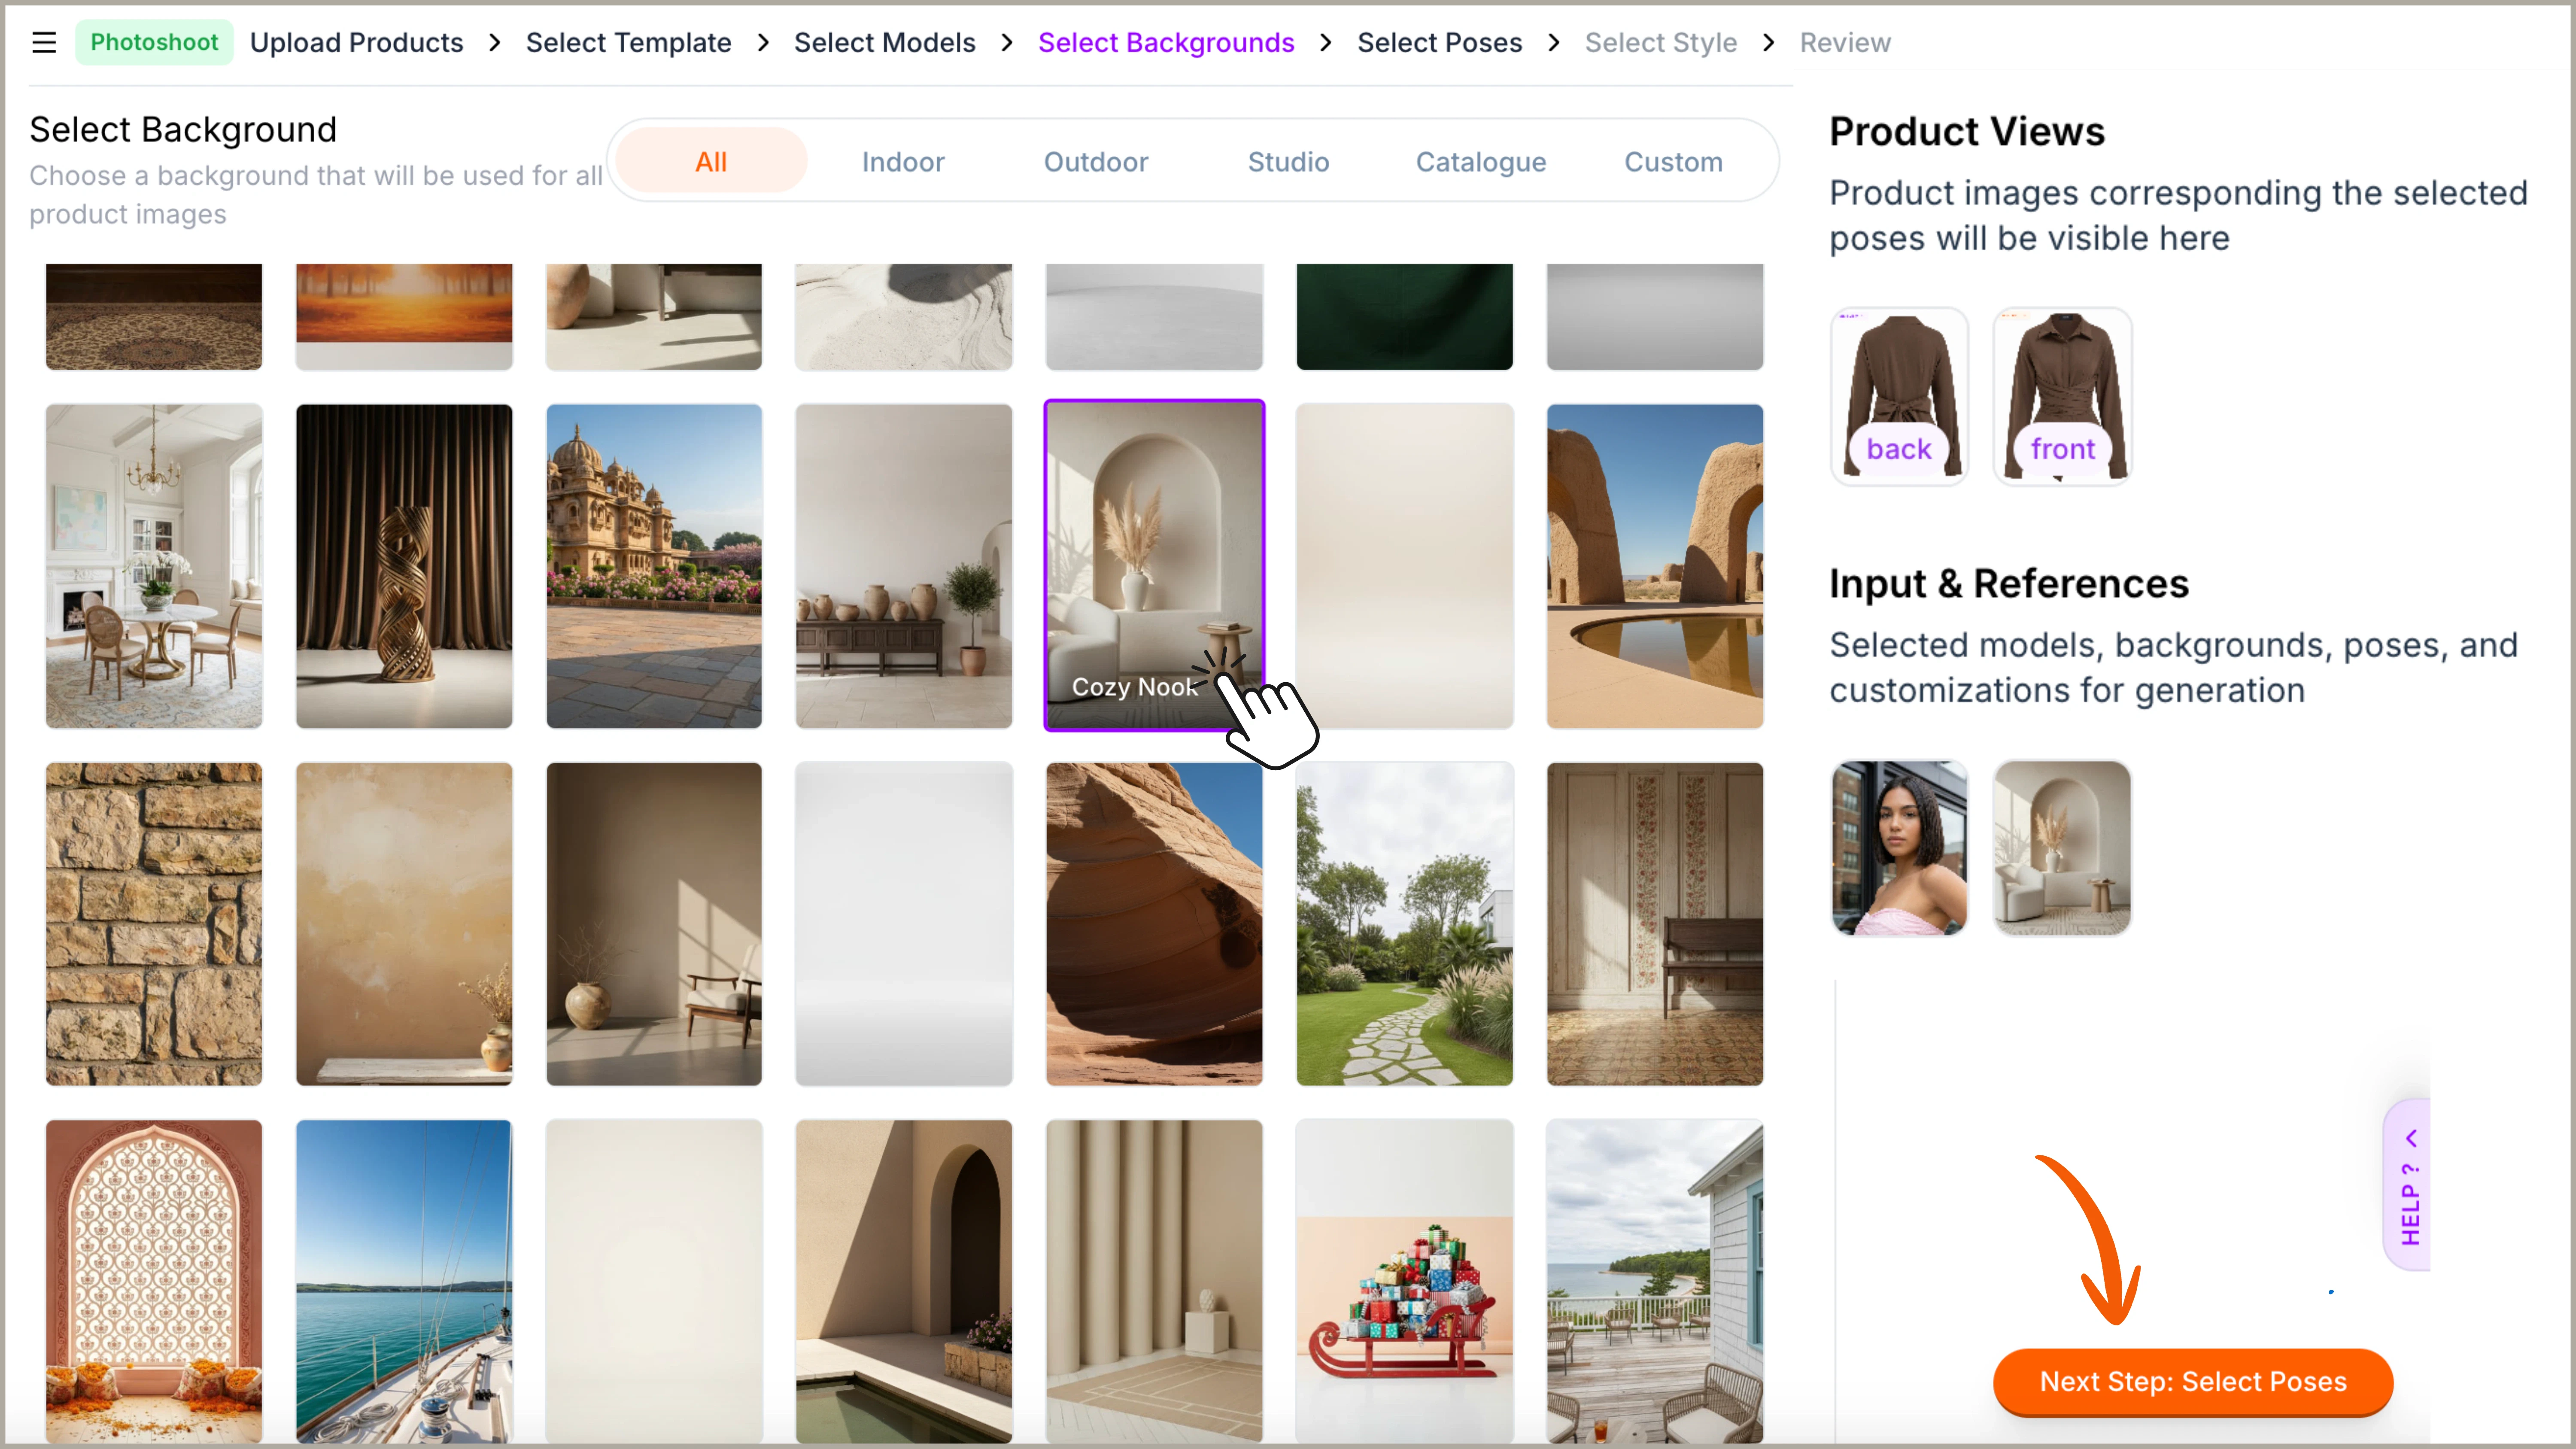
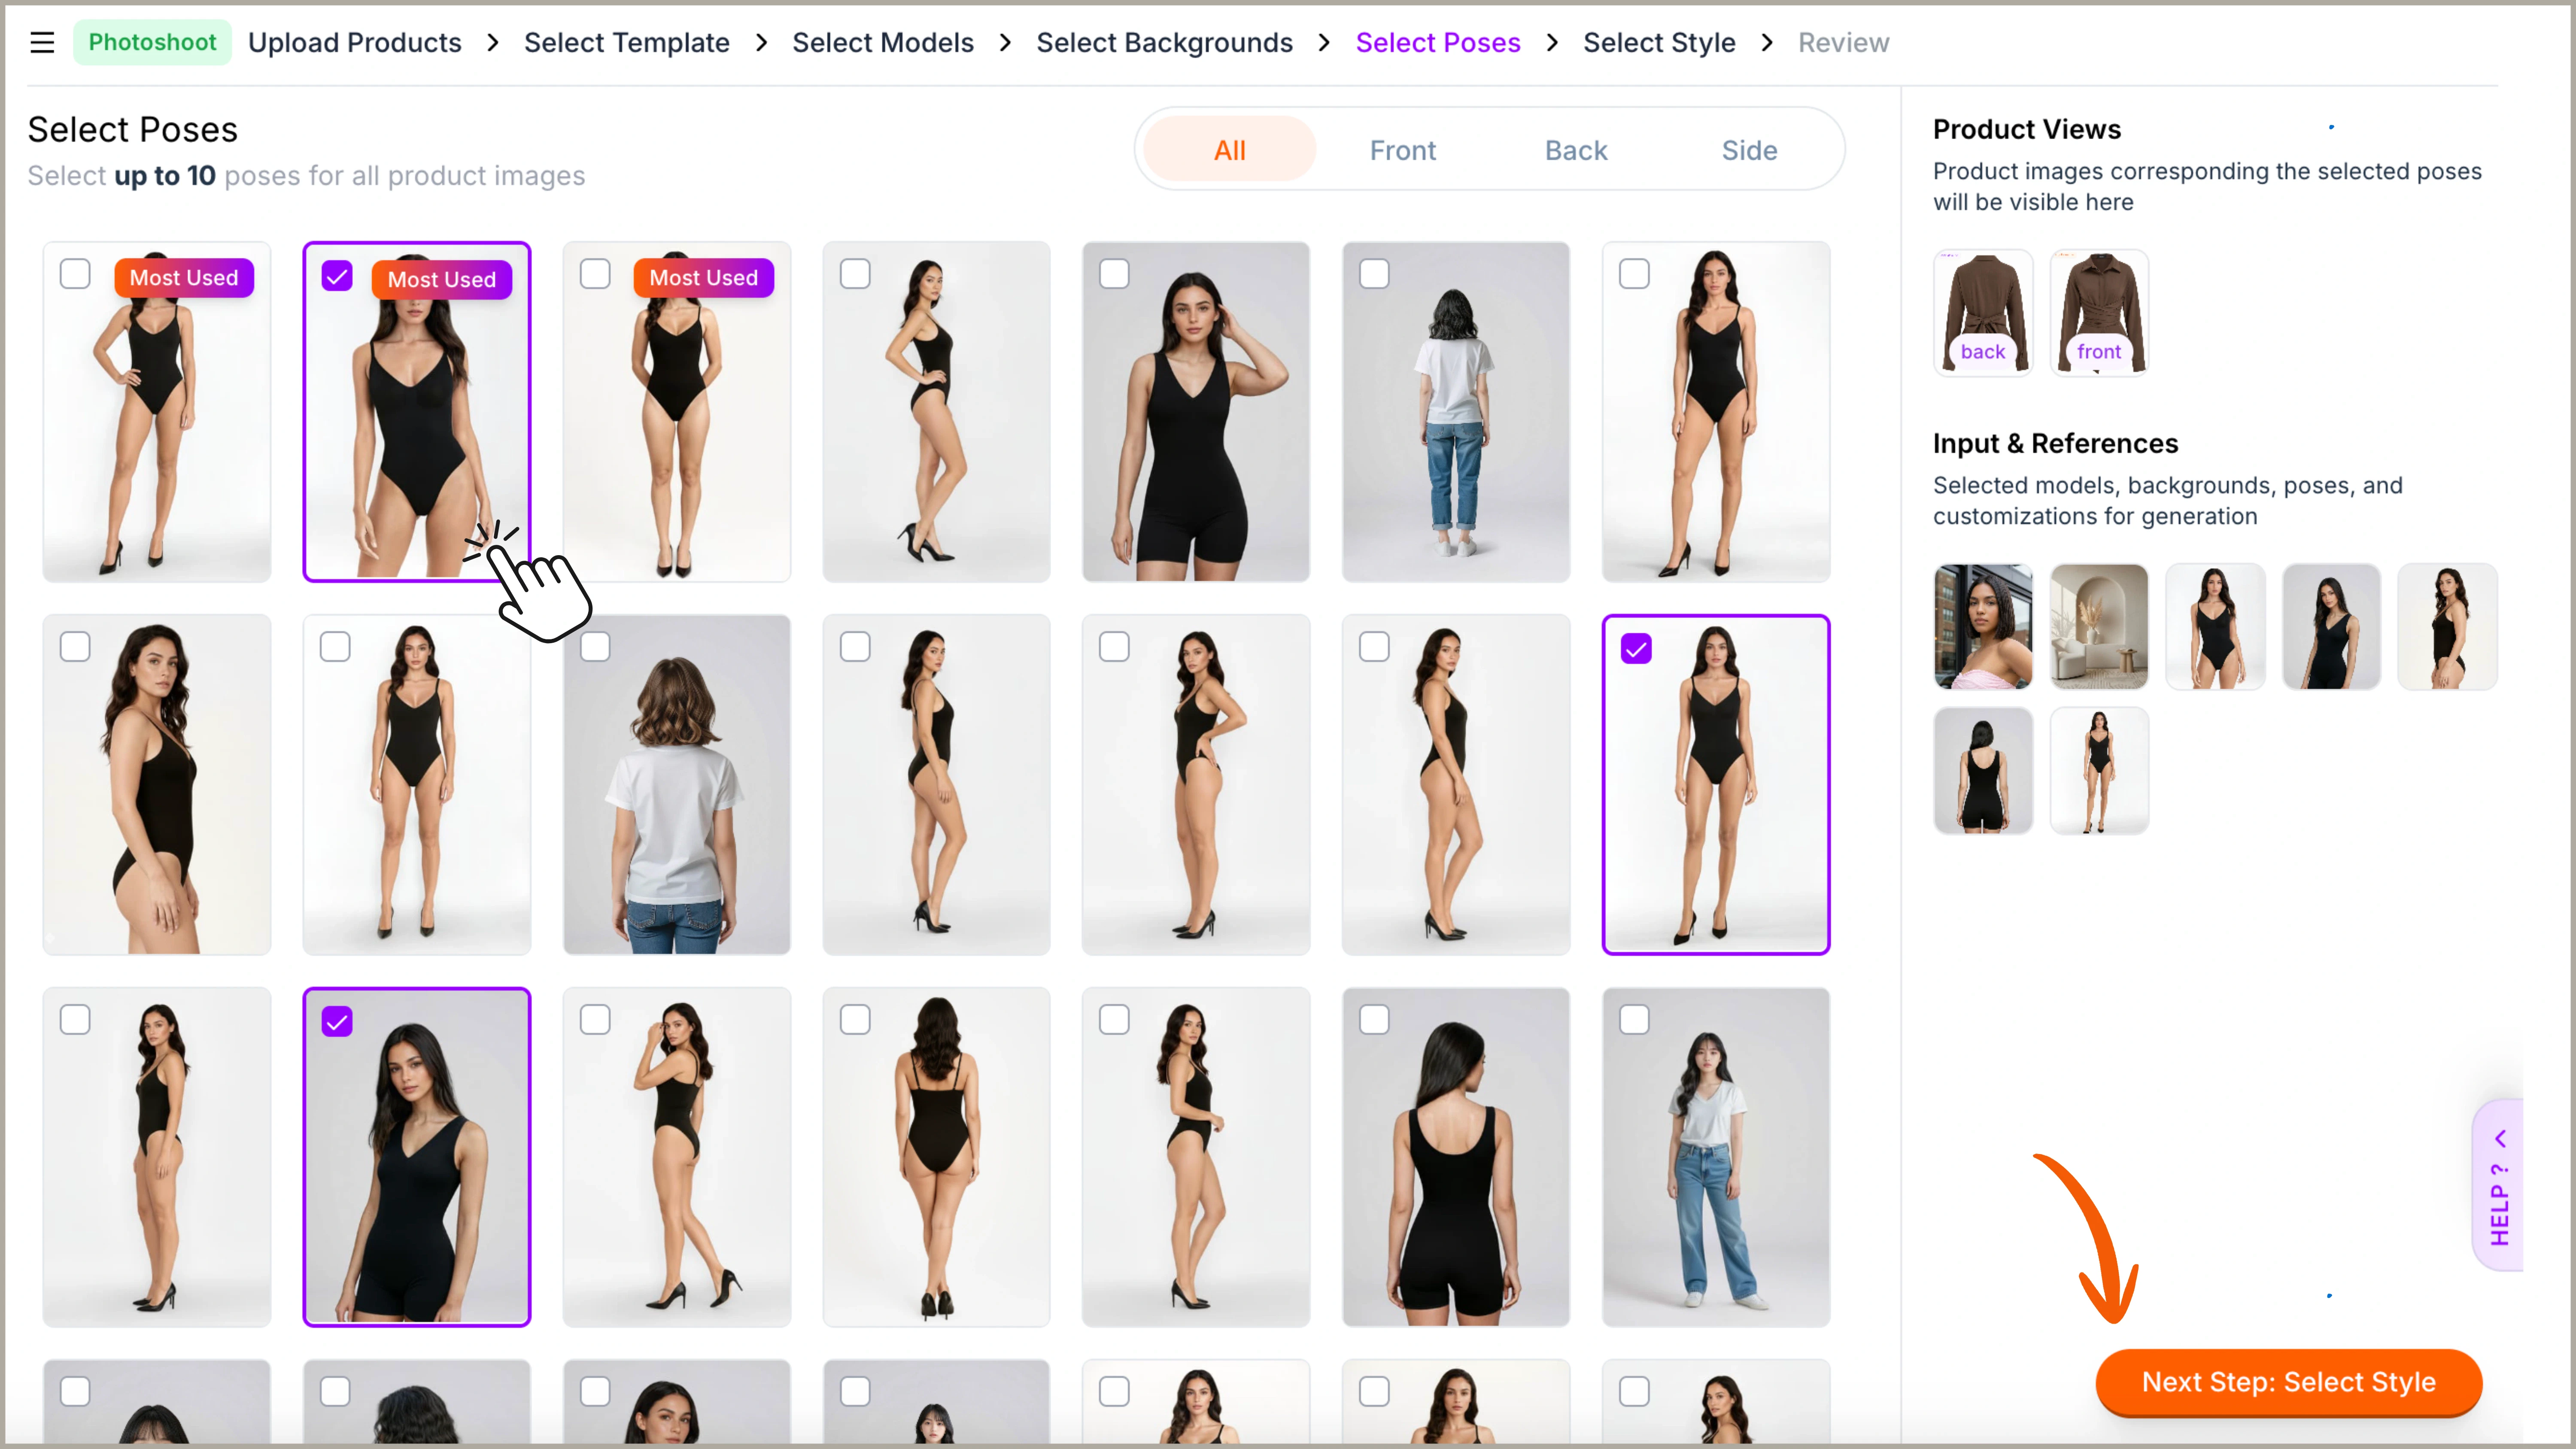
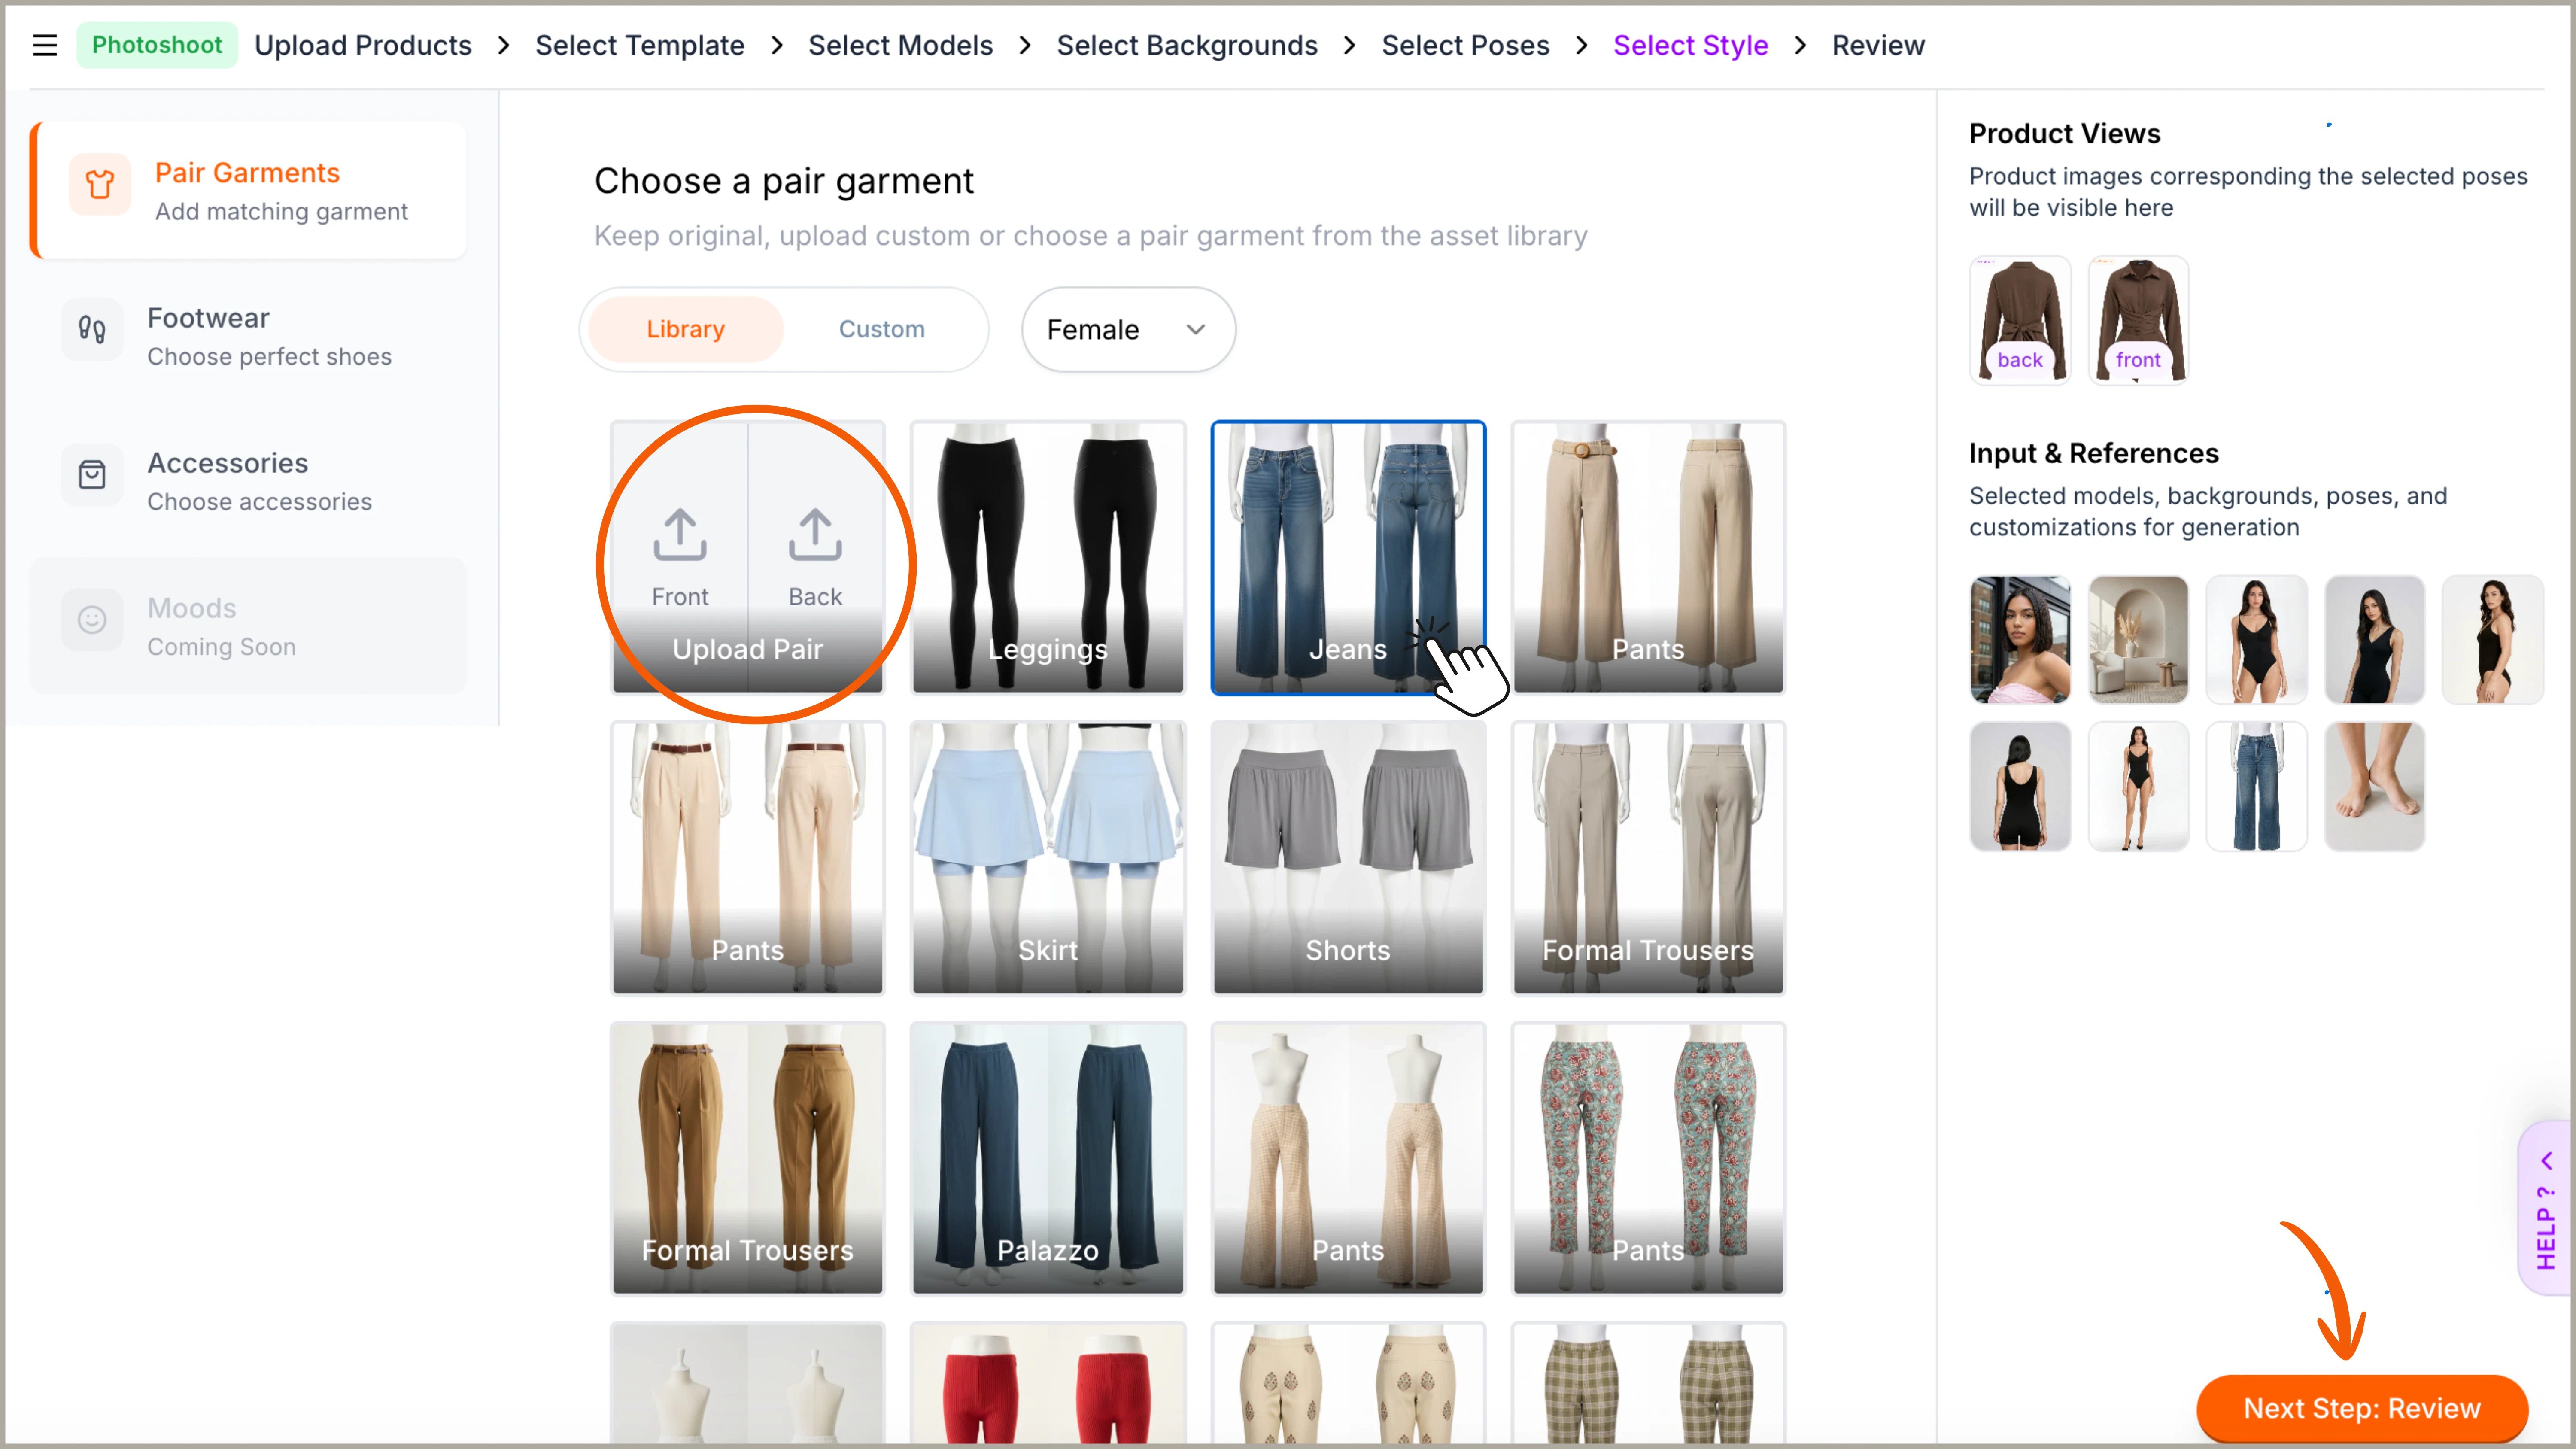
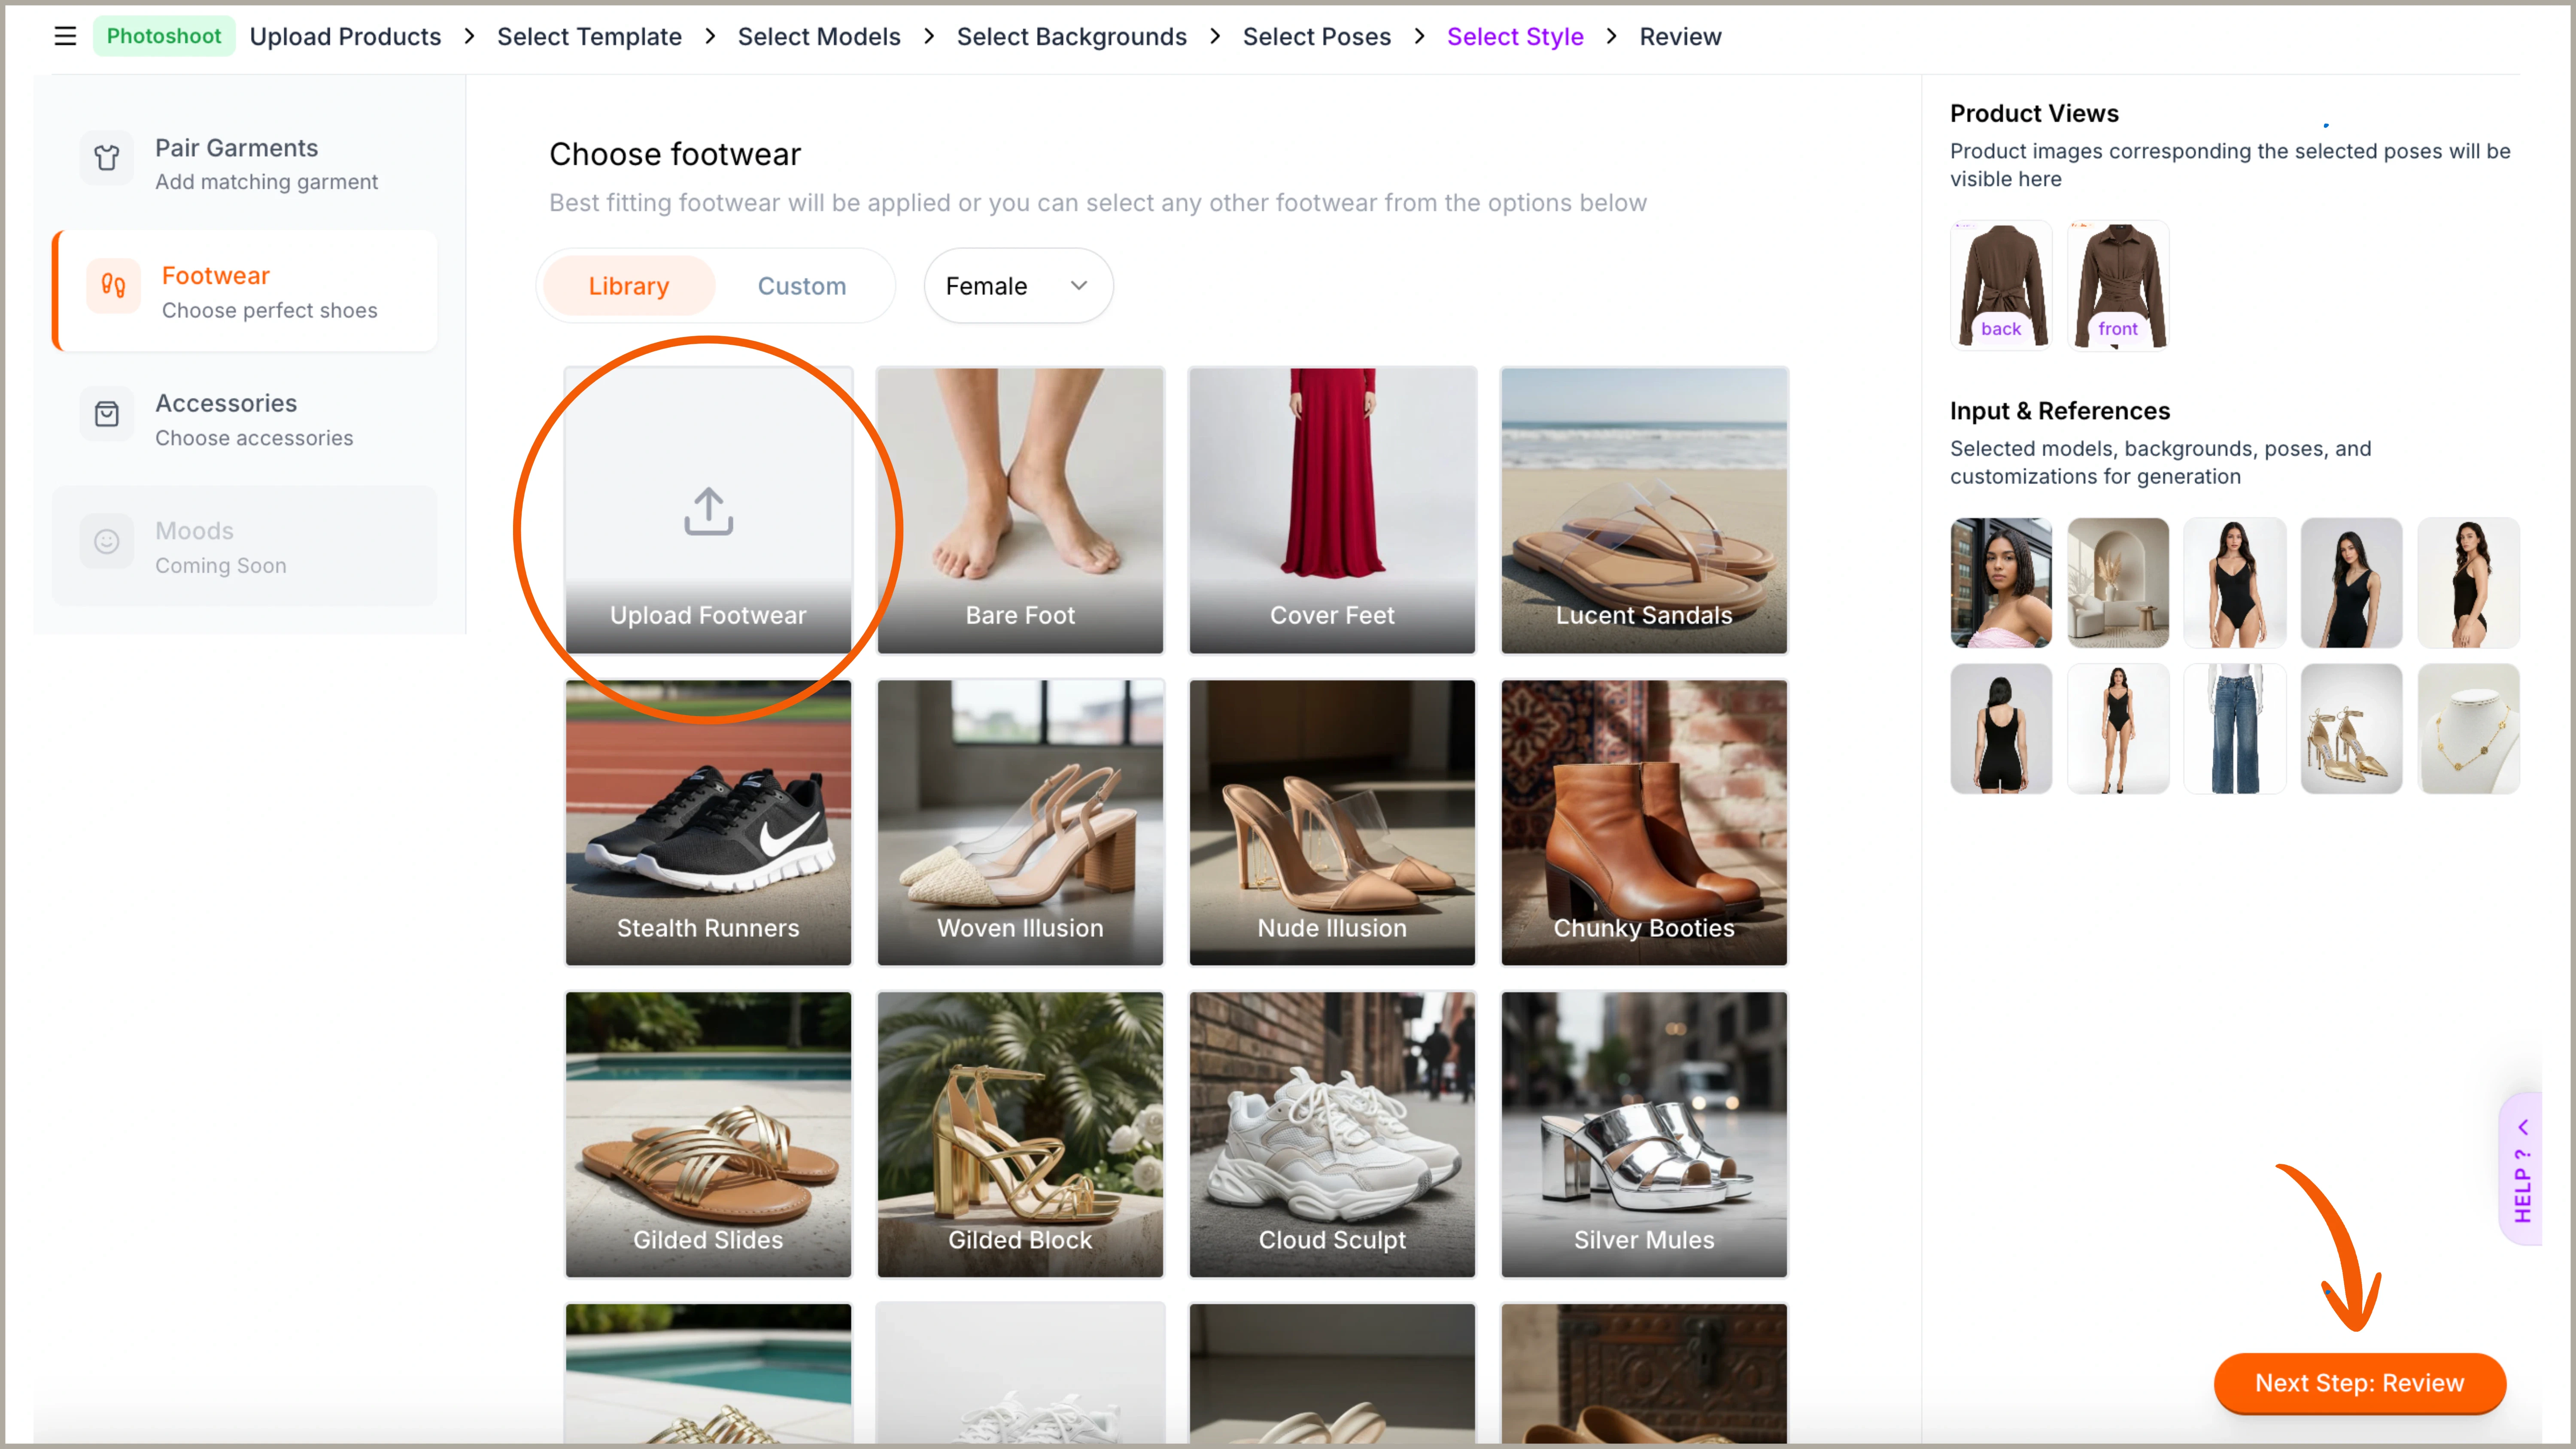
Method (b): Choose your Photoshoot Design (Manual)

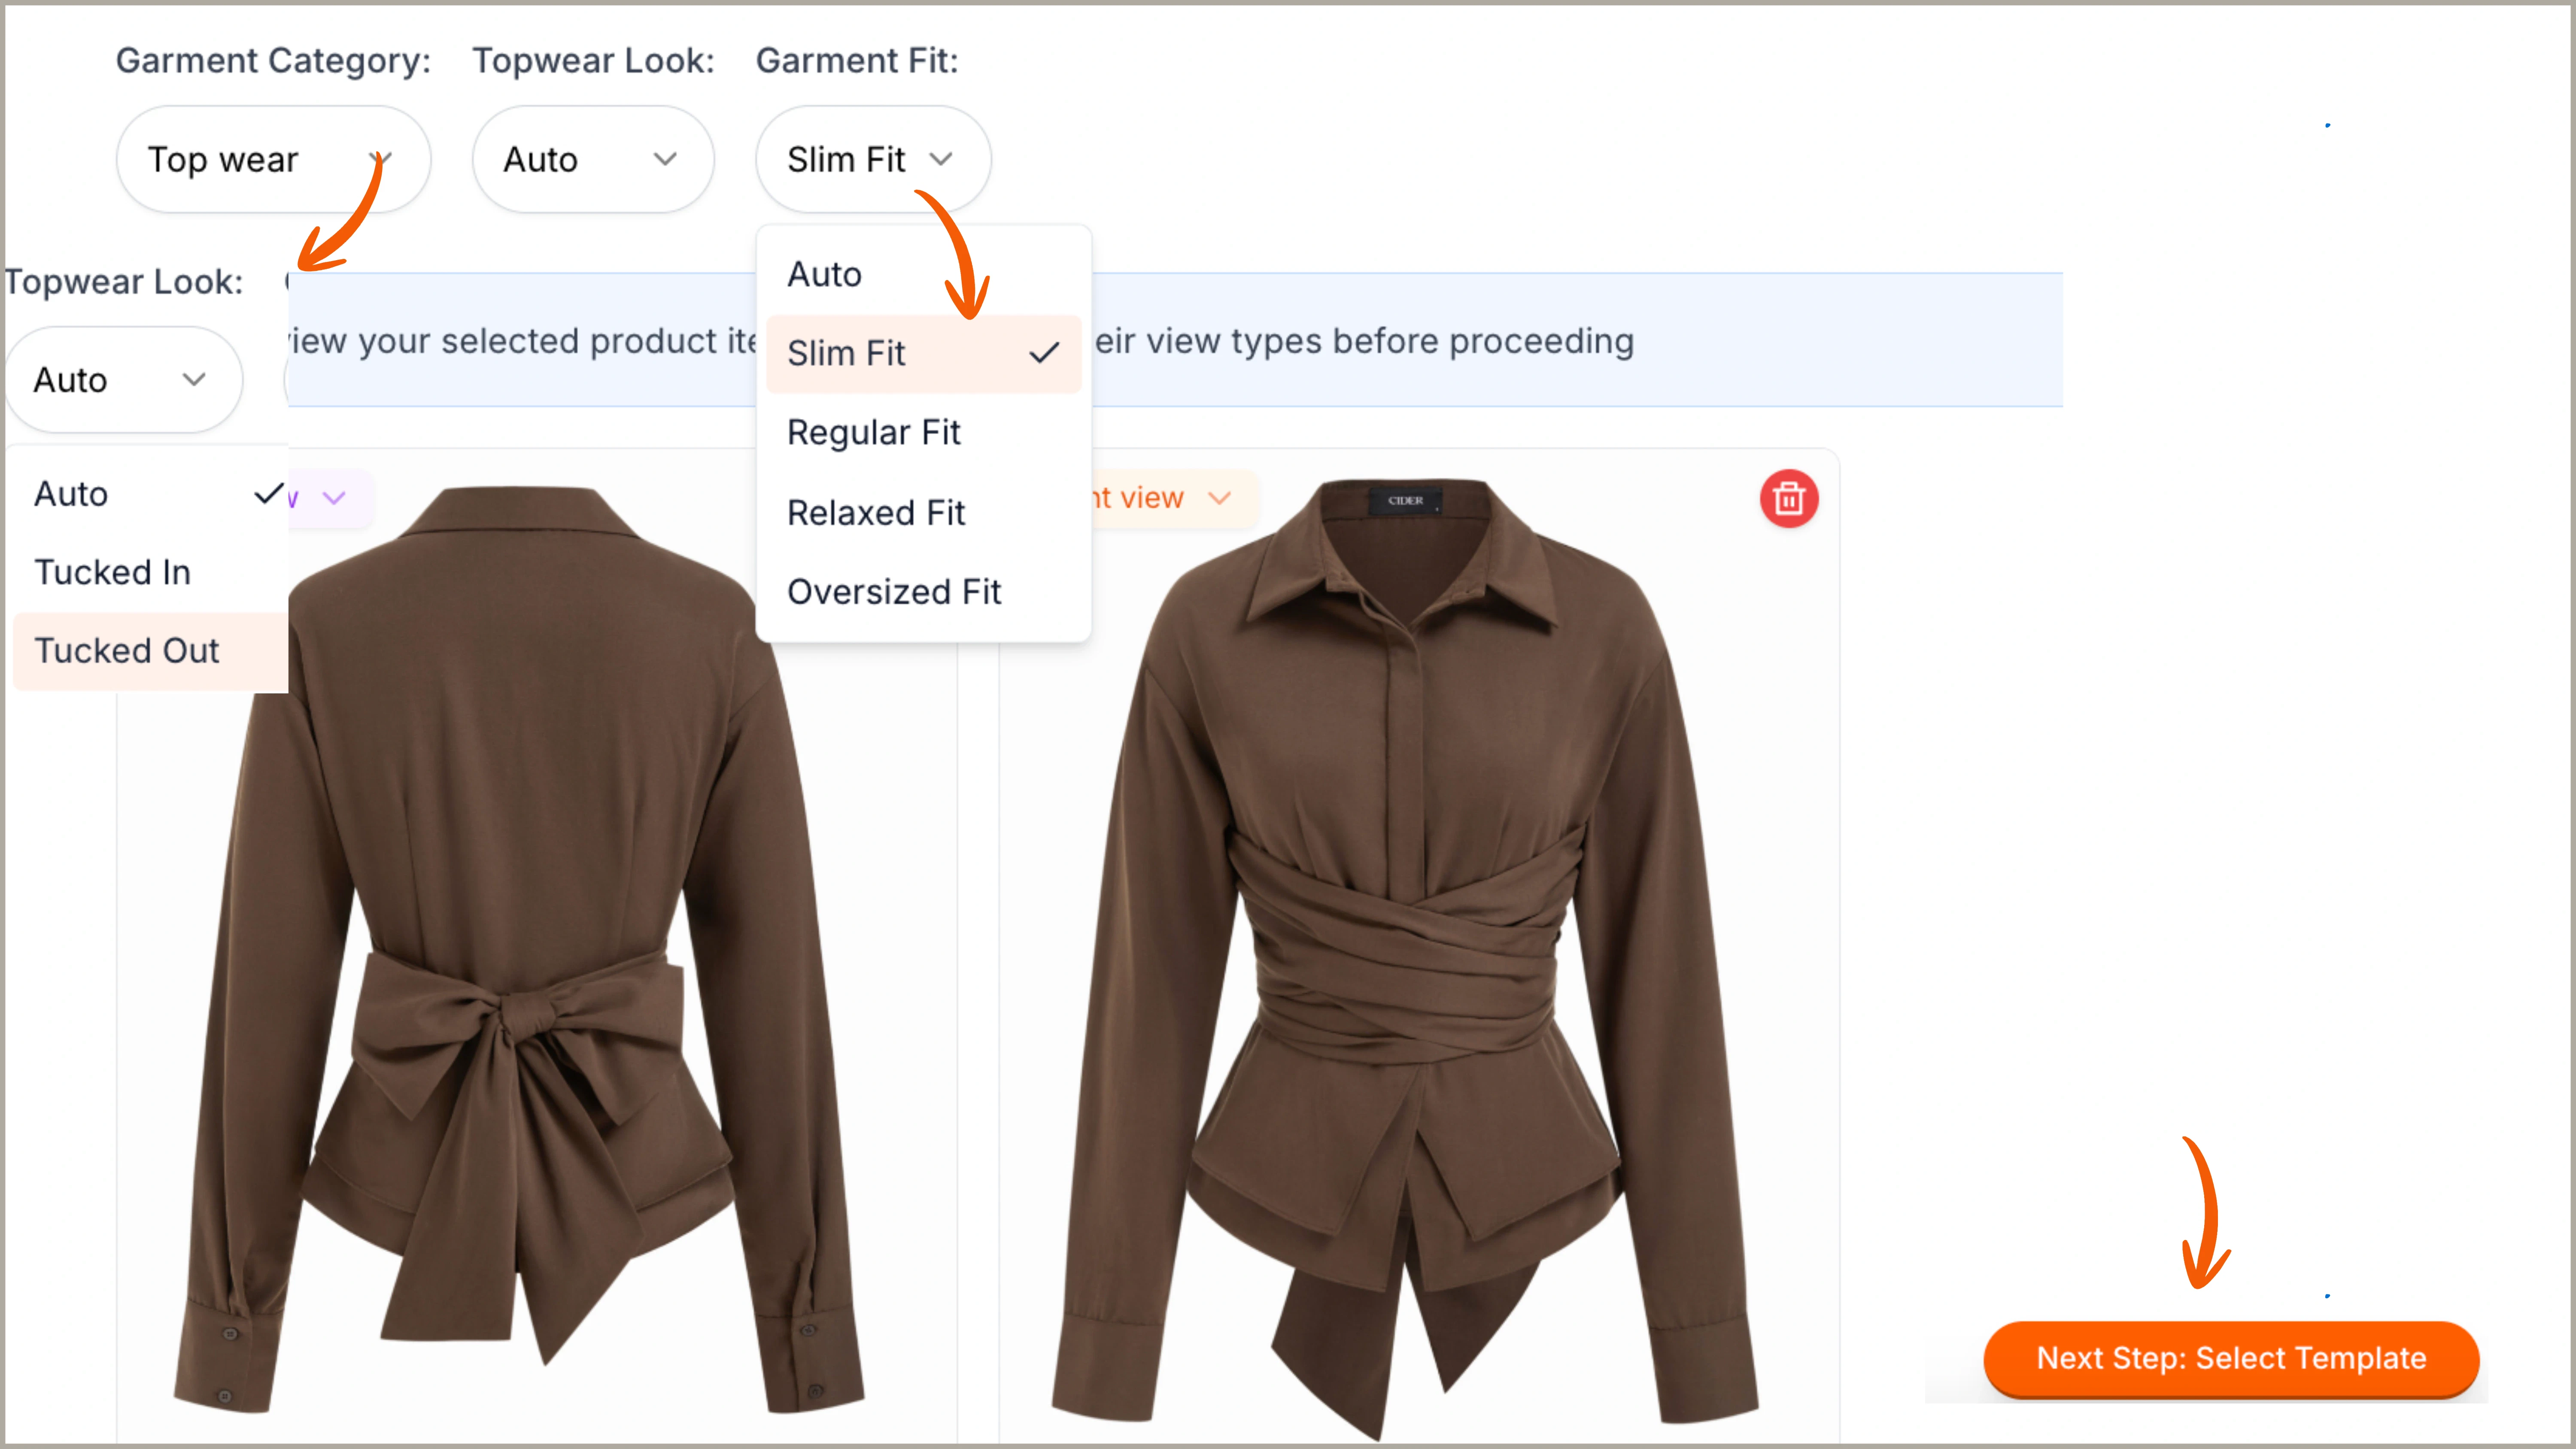
Using pre-saved templates is optional. You can also proceed with your photoshoot manually, gaining complete creative freedom over your photoshoot. You will start with selecting a model: Ayna offers a wide range of models across Menswear, Womenswear, and Kidswear, with filters for age and ethnicity to match your brand. You can also create your own custom model if you have specific requirements. Select model After selecting your model, choose a background. Ayna offers a wide range of options, from clean studio backdrops to outdoor locations, allowing you to match the mood and garment category. You can again upload your custom background to have a more personalised shoot. Background Then, you need to select poses from our vast pose library. Select the desired poses for your photoshoot. Choose from multiple angles and close-up options, including front, back, side, and full-body shots, based on the garment style. Poses The last stage is styling: you can choose a pairing garment from Ayna’s Style Library or upload a garment of your own, especially for top-wear styling. Pairing garment You can also select footwear from the available options or upload a new one to complete the look for your photoshoot. Footwear Lastly, you can select accessories for detailed styling. We provide a huge jewellery library to enhance your overall photoshoot. Accessories After adding all inputs, click Review to proceed to the final steps.

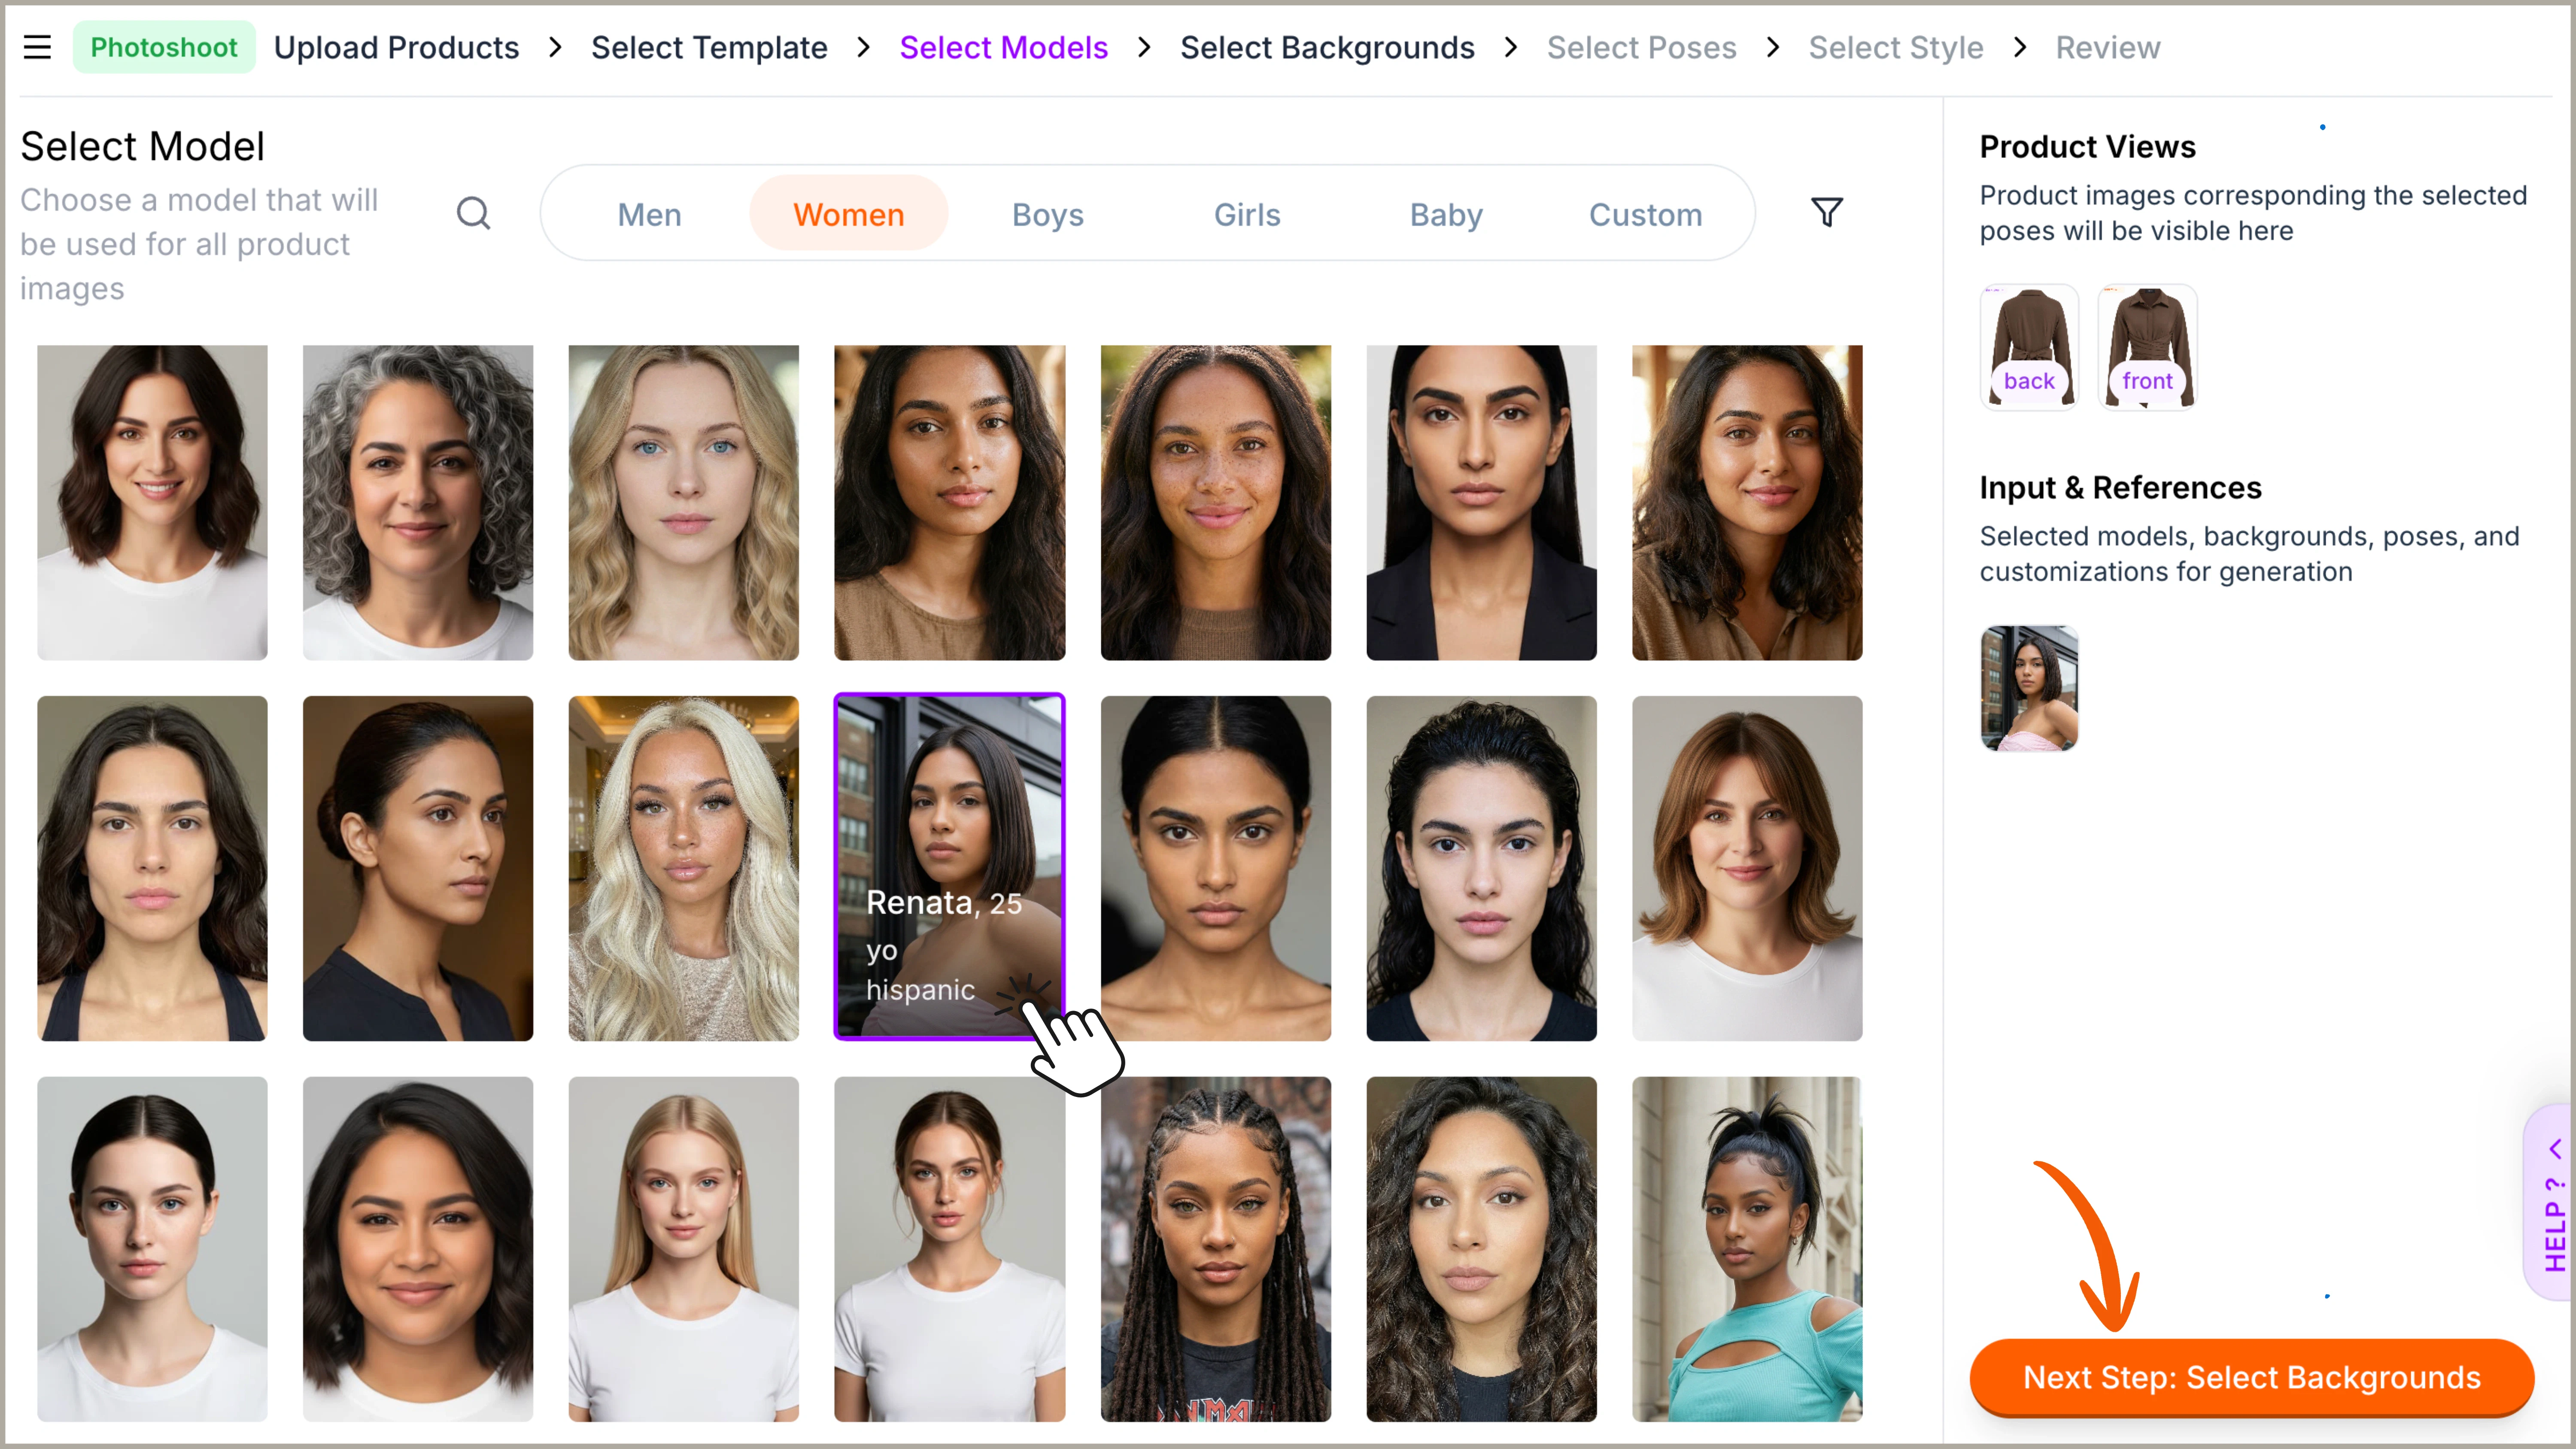
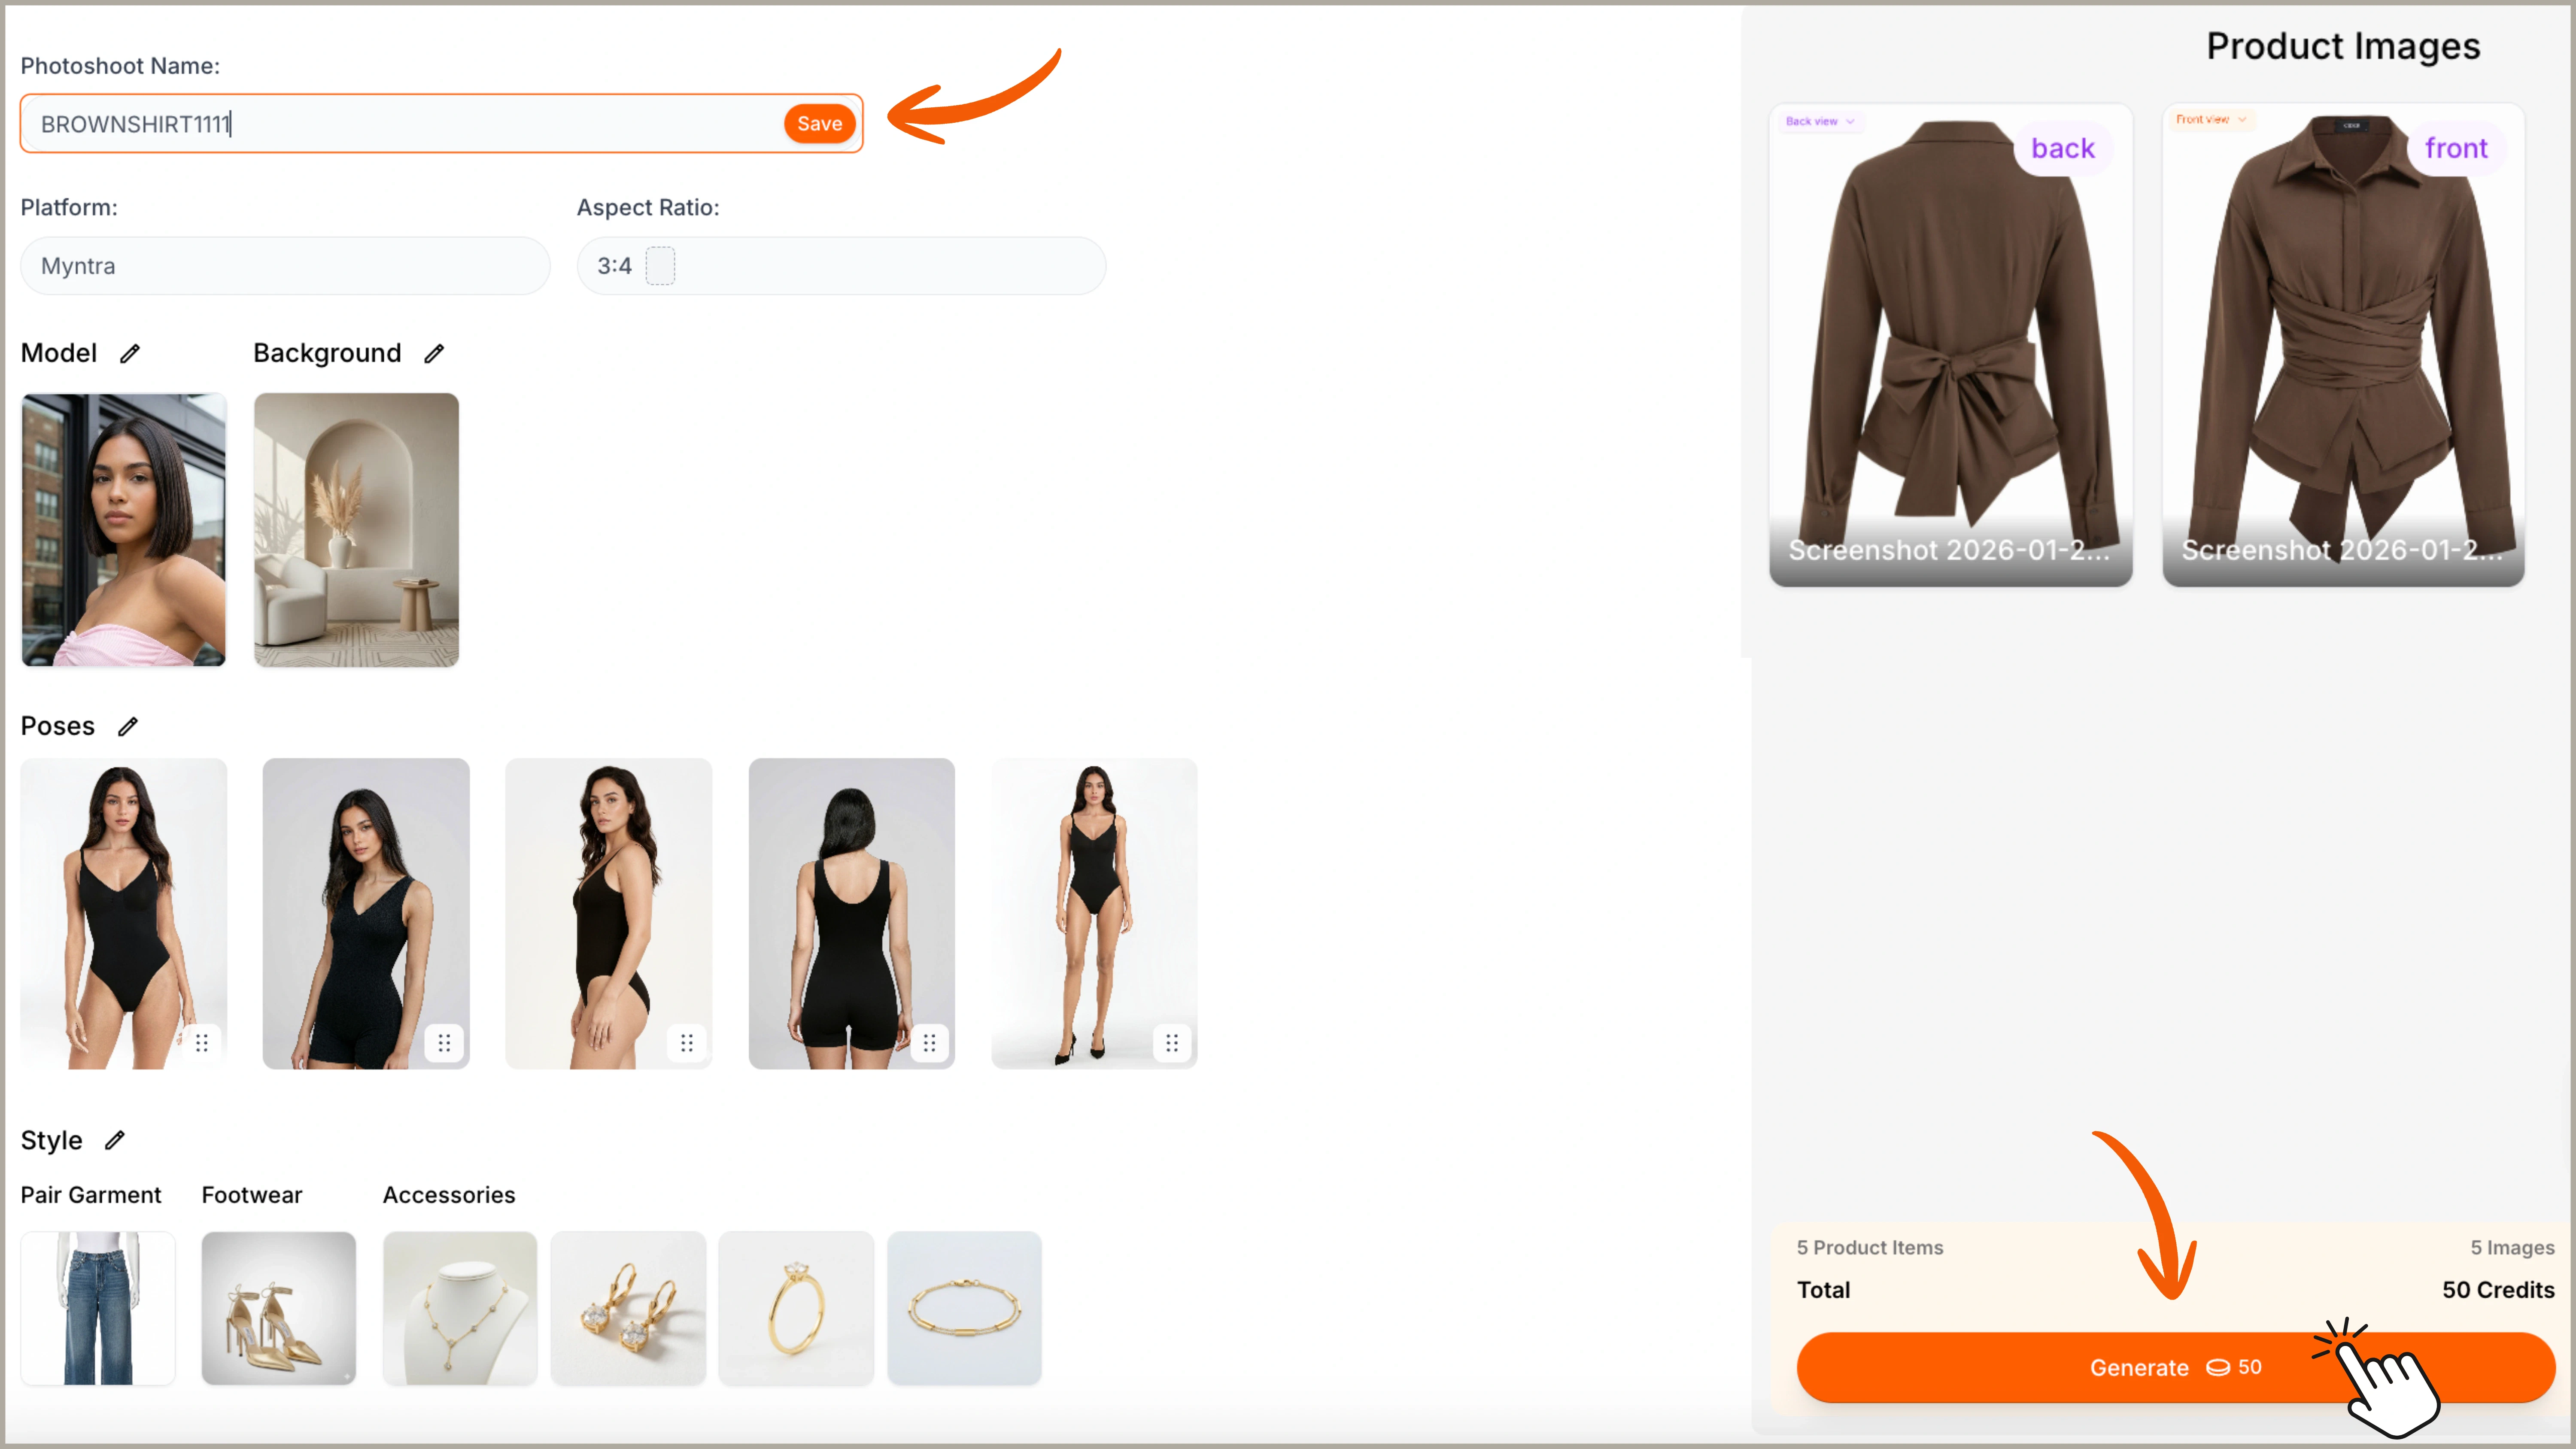
Step 3: Review your Selections

Once you proceed either manually or with templates, you will land on the final review page. Here, you can align on all the inputs and make last-minute changes, if any. Review and Generate Voilà! Your photoshoot is ready. Click on Photoshoots to view your final outputs and reorder them as per your requirements. Happy generating ✨ Photoshoots ready