Creating a Custom Model allows you to generate photoshoots using a model that matches your brand’s preferred look and identity. Instead of relying only on pre-built models, you can create your own model for more consistent results across campaigns, collections, and product drops. This helps you maintain a cohesive visual style while saving time on repeated model selection. Follow these steps to create your own custom model in just a few clicks.Documentation Index
Fetch the complete documentation index at: https://docs.getayna.com/llms.txt
Use this file to discover all available pages before exploring further.
Step 1: Go to Assets and Create Model
Go to the Assets section on the left pane and click on Create Model to start generating a custom model for your photoshoot.
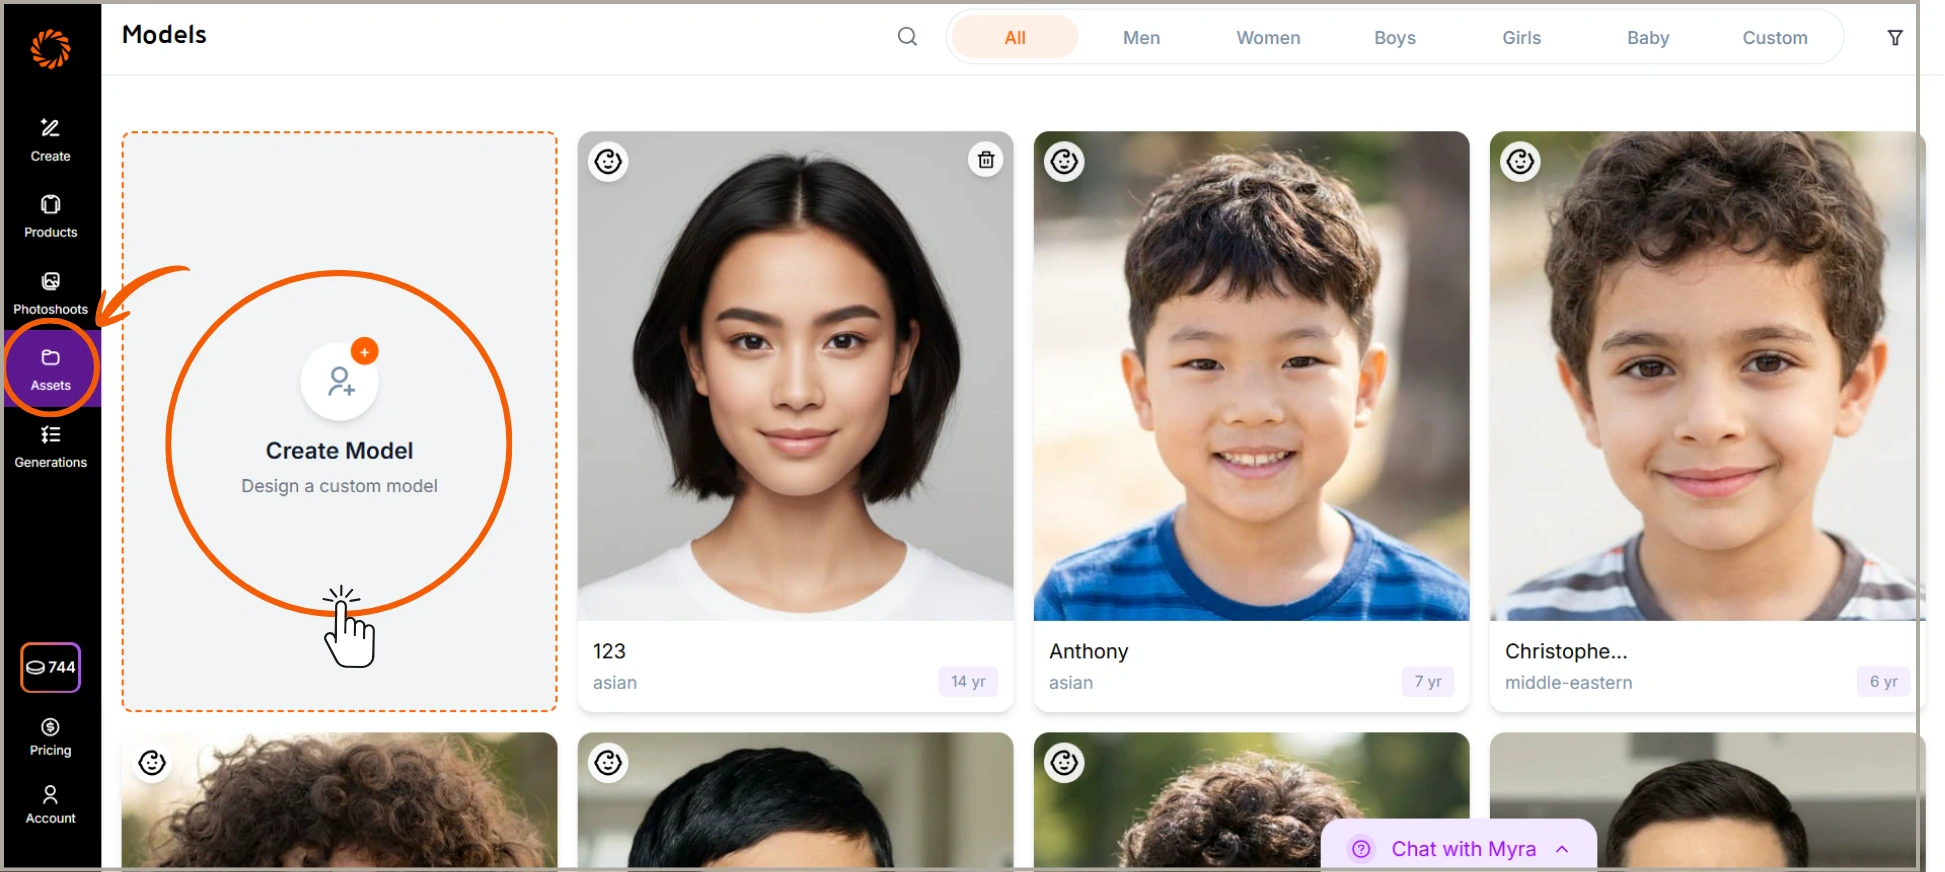
Step 2: Select Model Identity
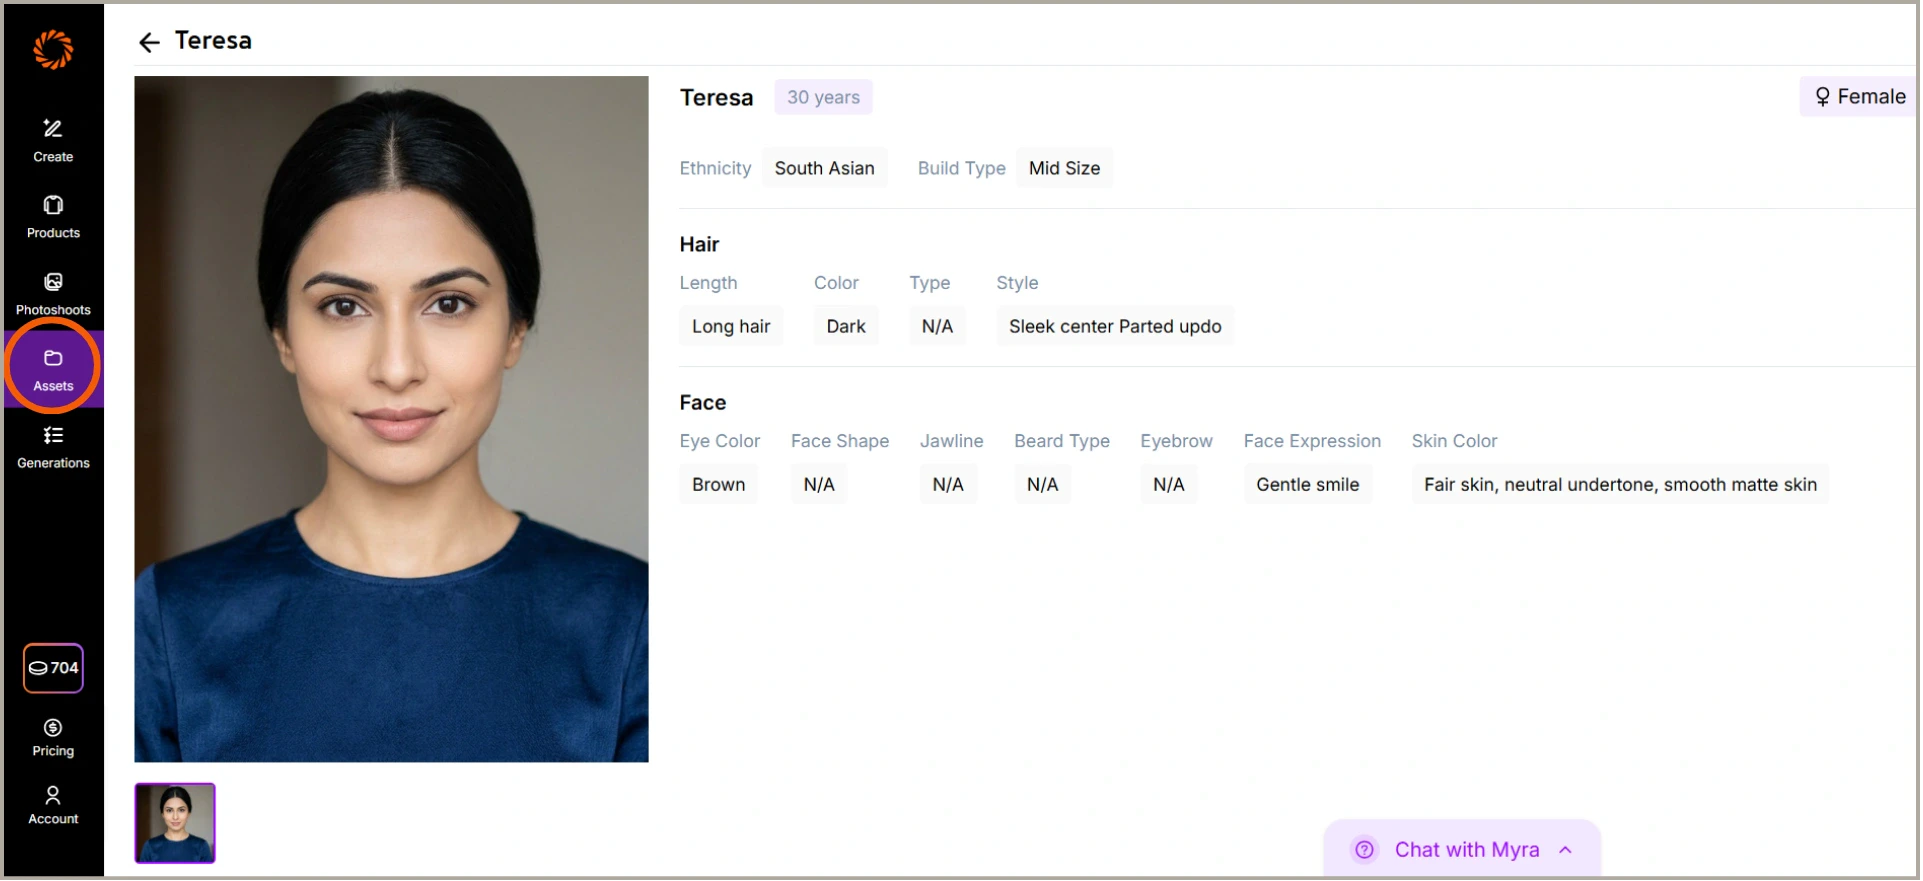
Choose the model’s identity attributes, including gender, age, ethnicity, body type, and skin tone. These details help define the overall look of your model.
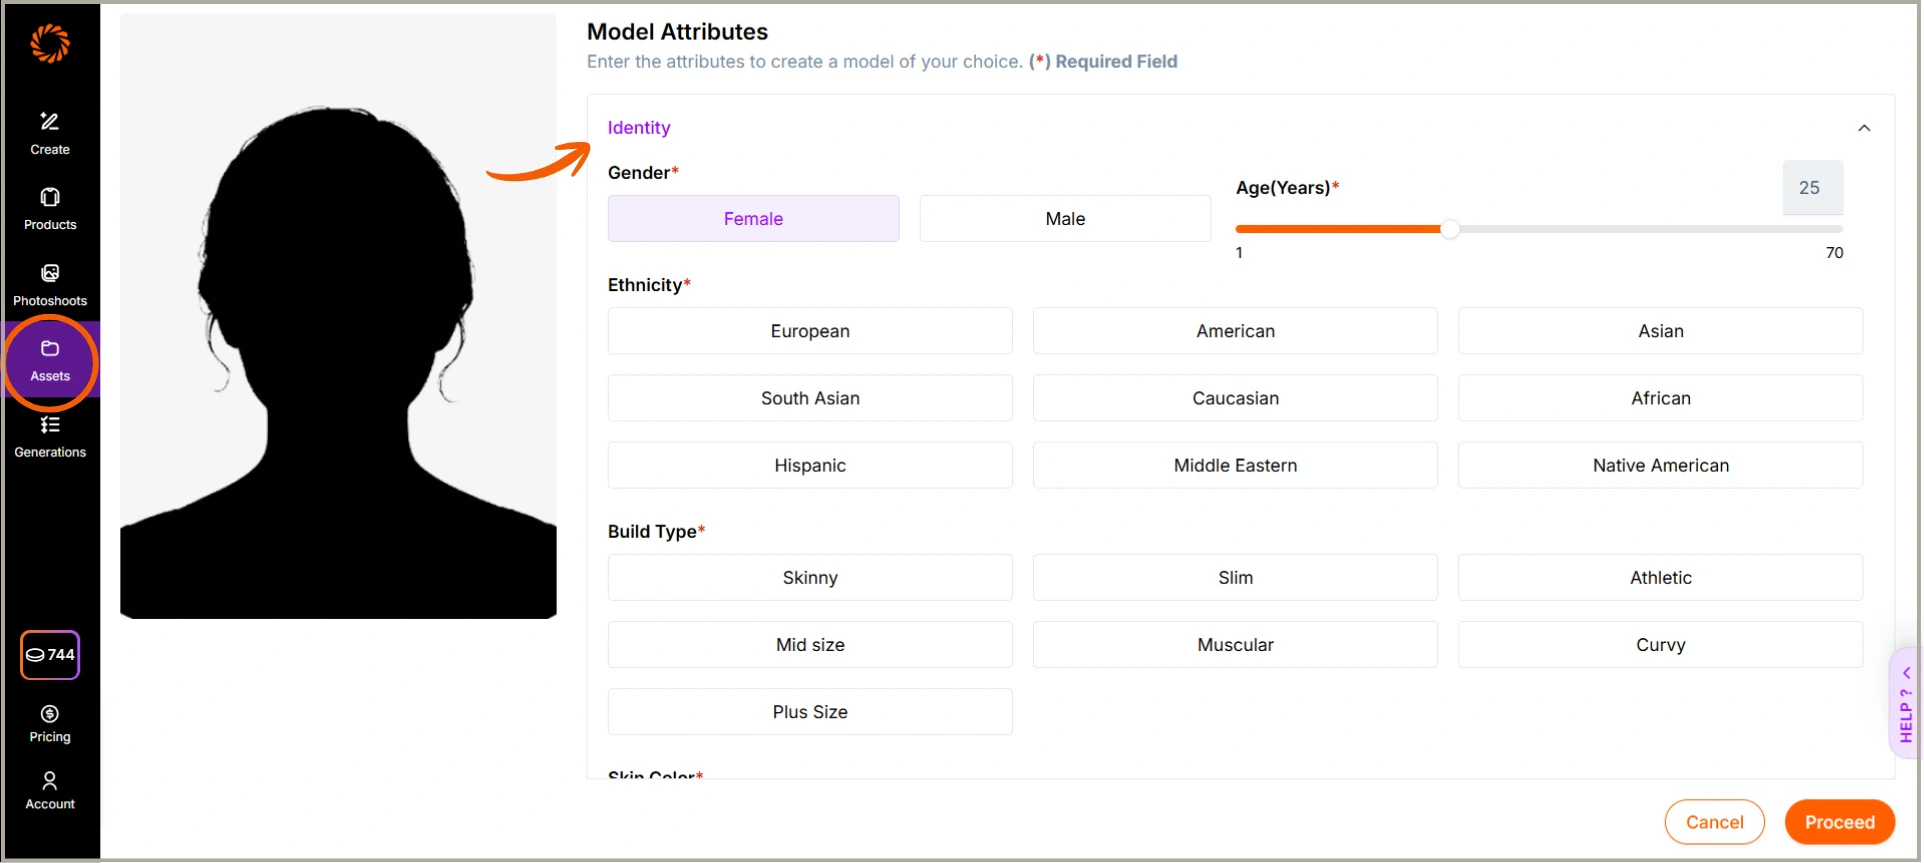
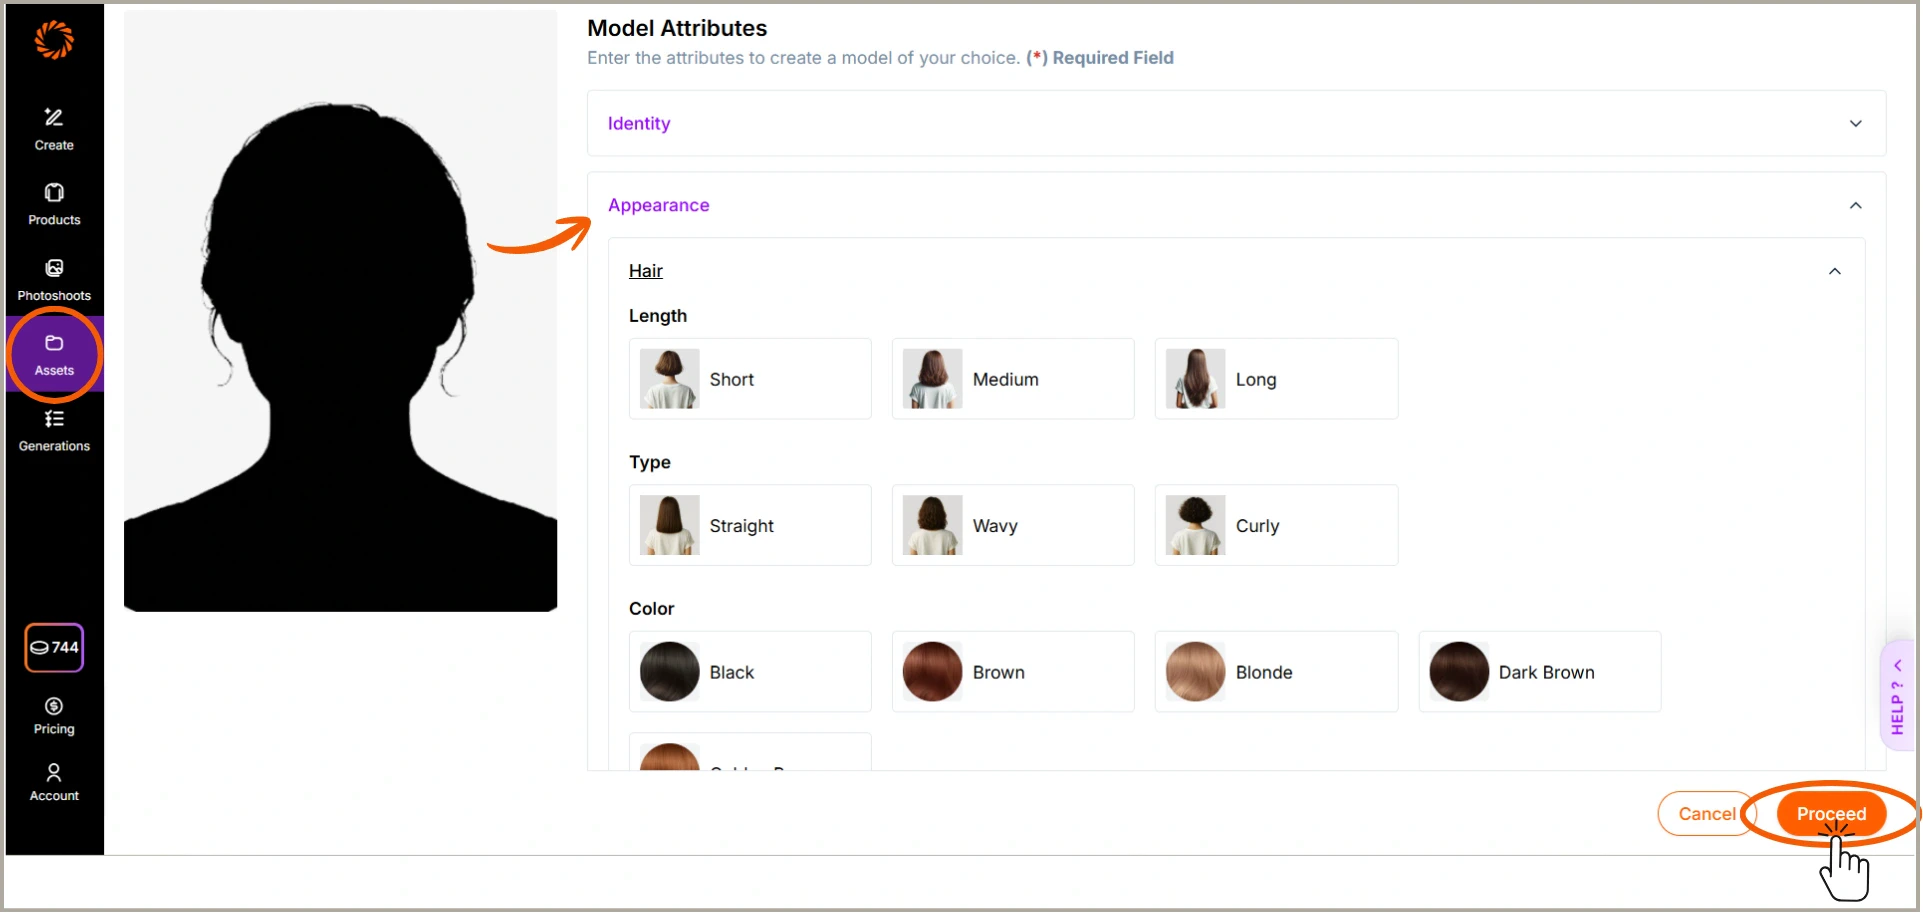
Step 3: Choose Model Appearance
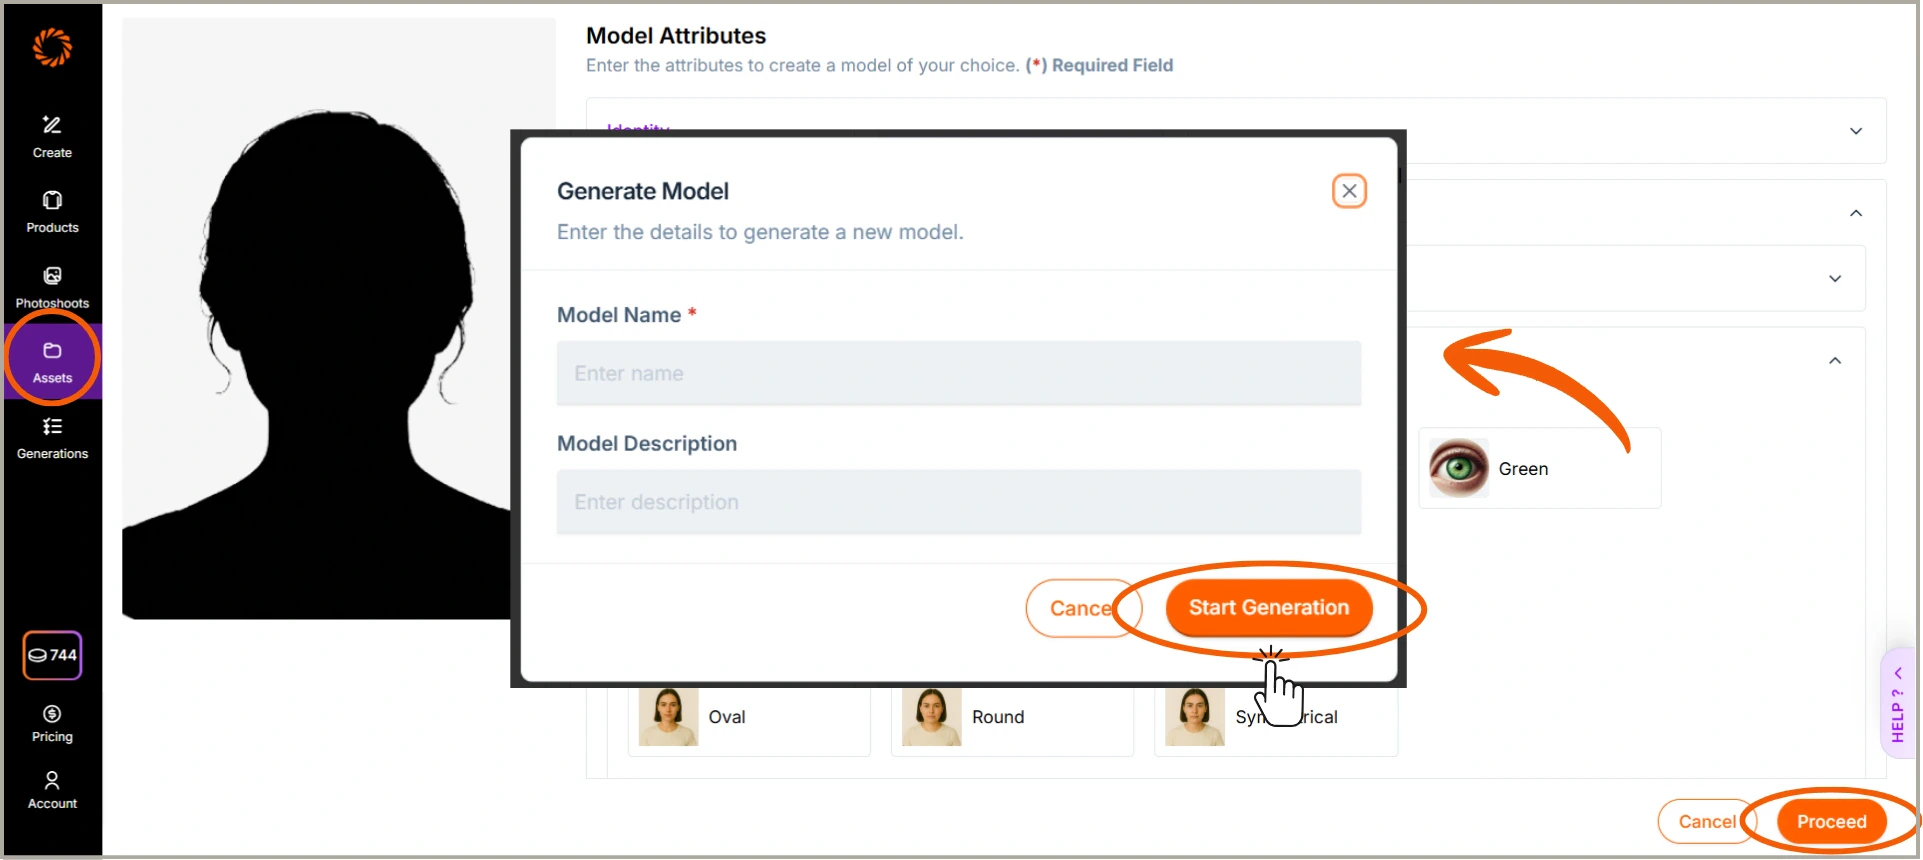
Customize the model’s appearance by selecting hair length, hair type, hair color, and other visual features. Once done, click Proceed to generate your model.

